Nodes Browser
ComfyDeploy: How ComfyUI Inpaint Nodes works in ComfyUI?
What is ComfyUI Inpaint Nodes?
Nodes for better inpainting with ComfyUI. Adds various ways to pre-process inpaint areas. Supports the Fooocus inpaint model, a small and flexible patch which can be applied to any SDXL checkpoint and will improve consistency when generating masked areas.
How to install it in ComfyDeploy?
Head over to the machine page
- Click on the "Create a new machine" button
- Select the
Editbuild steps - Add a new step -> Custom Node
- Search for
ComfyUI Inpaint Nodesand select it - Close the build step dialig and then click on the "Save" button to rebuild the machine
ComfyUI Inpaint Nodes
Nodes for better inpainting with ComfyUI: Fooocus inpaint model for SDXL, LaMa, MAT, and various other tools for pre-filling inpaint & outpaint areas.
Fooocus Inpaint
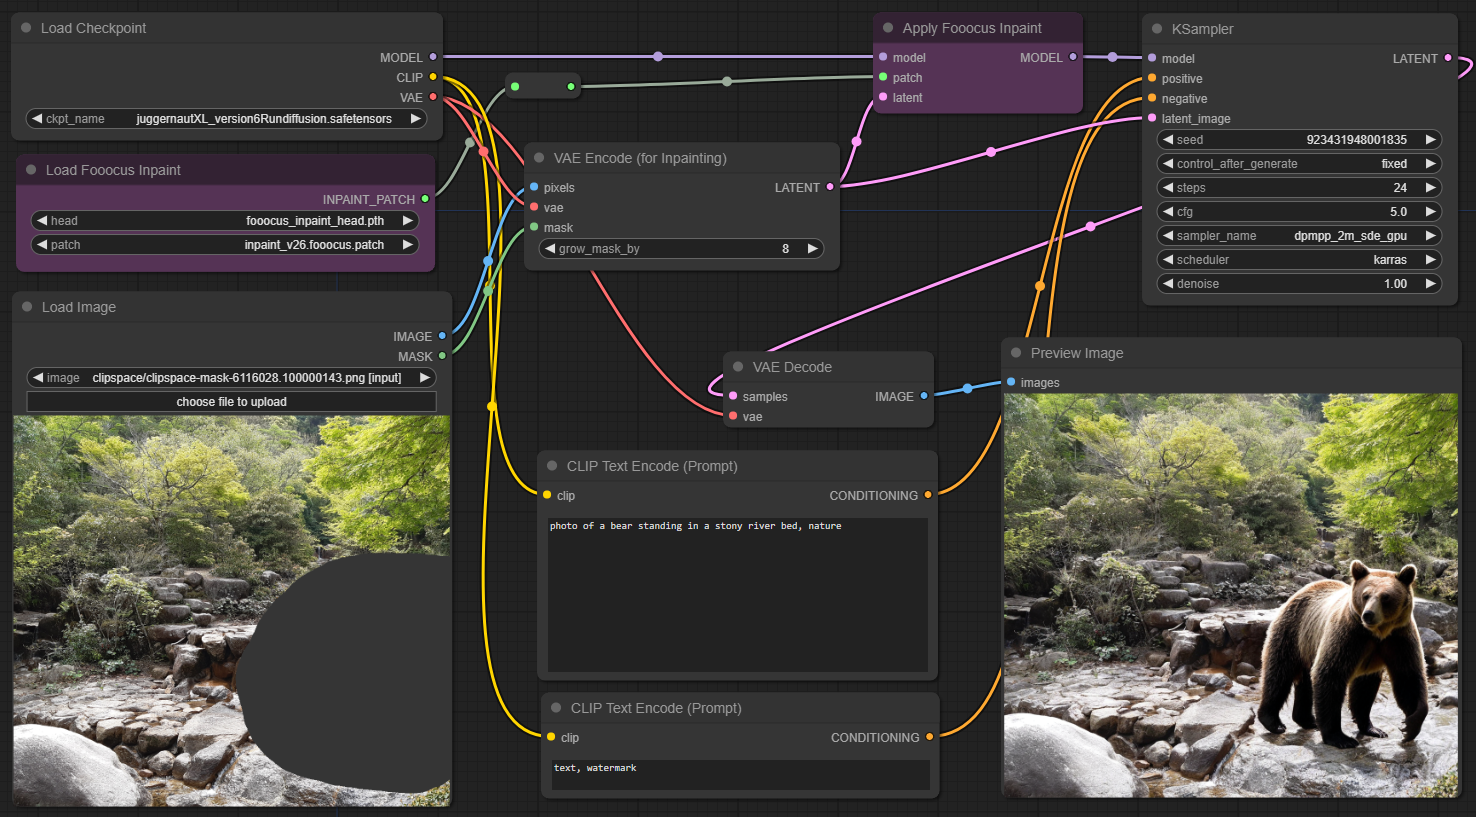
Adds two nodes which allow using Fooocus inpaint model. It's a small and flexible patch which can be applied to your SDXL checkpoints and will transform them into an inpaint model. This model can then be used like other inpaint models to seamlessly fill and expand areas in an image.
Download models from lllyasviel/fooocus_inpaint and place them into ComfyUI/models/inpaint.
[!NOTE]
Make sure to use the regular version of a checkpoint to create an inpaint model - distilled merges (Turbo, Lightning, Hyper) do not work.
Inpaint Conditioning
Fooocus inpaint can be used with ComfyUI's VAE Encode (for Inpainting) directly. However this does not allow existing content in the masked area, denoise strength must be 1.0.
InpaintModelConditioning can be used to combine inpaint models with existing content. The resulting
latent can however not be used directly to patch the model using Apply Fooocus Inpaint. This repository
adds a new node VAE Encode & Inpaint Conditioning which provides two outputs: latent_inpaint (connect
this to Apply Fooocus Inpaint) and latent_samples (connect this to KSampler).
It's the same as using both VAE Encode (for Inpainting) and InpaintModelConditioning, but less overhead because it avoids VAE-encoding the image twice. Example workflow
Inpaint Pre-processing
Several nodes are available to fill the masked area prior to inpainting. They avoid seams as long as the input mask is large enough.
Expand Mask
Expands (grow) the mask area by a certain number of pixels, and blurs (feather) the mask for a smoother transition at the edges.
Fill Masked
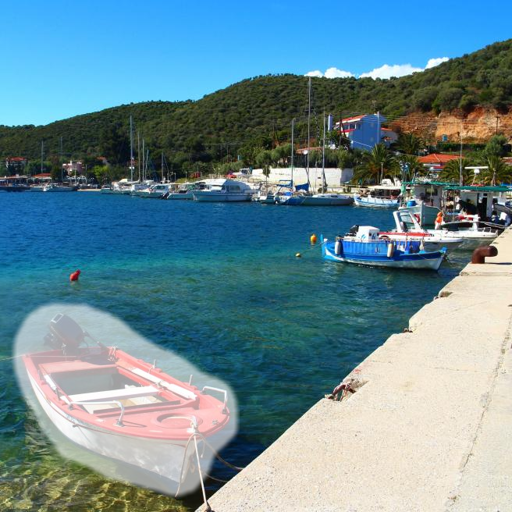
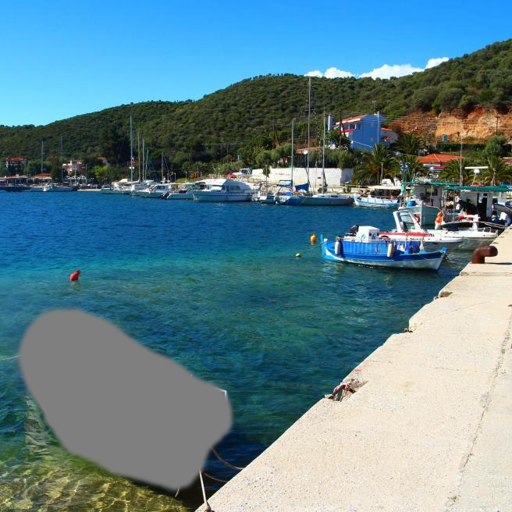
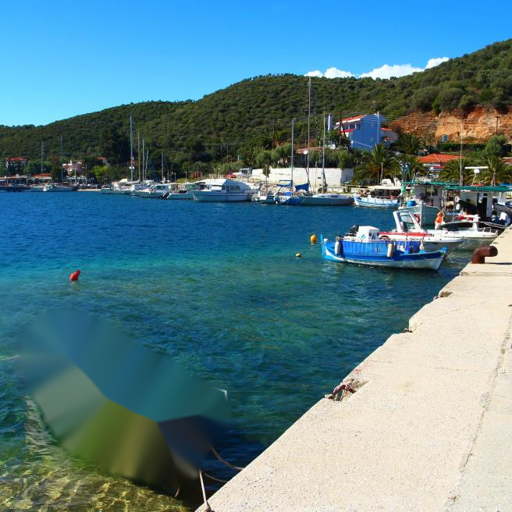
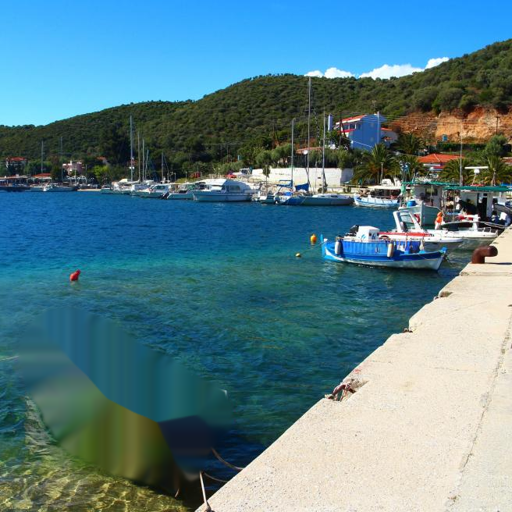
This fills the masked area, with a smooth transition at the border. It has 3 modes:
neutral: fills with grey, good for adding entirely new contenttelea: fills with colors from surrounding border (based on algorithm by Alexandru Telea)navier-stokes: fills with colors from surrounding border (based on fluid dynamics described by Navier-Stokes)
| Input | Neutral | Telea | Navier-Stokes |
|-|-|-|-|
|  |
|  |
|  |
| 
Blur Masked
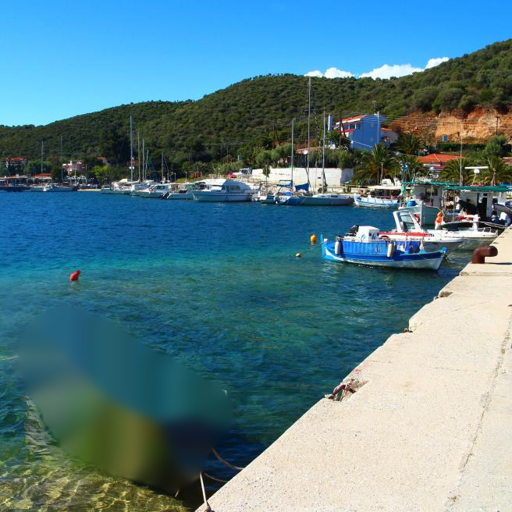
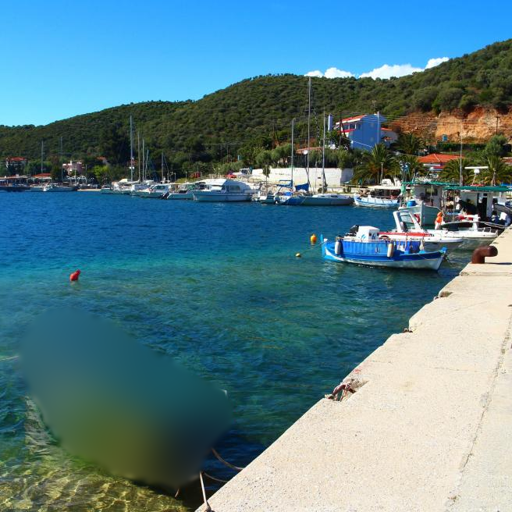
This blurs the image into the masked area. The blur is less strong at the borders of the mask. Good for keeping the general colors the same.
| Input | Blur radius 17 | Blur radius 65 |
|-|-|-|
|  |
|  |
|  |
|
Inpaint Models (LaMA, MAT)
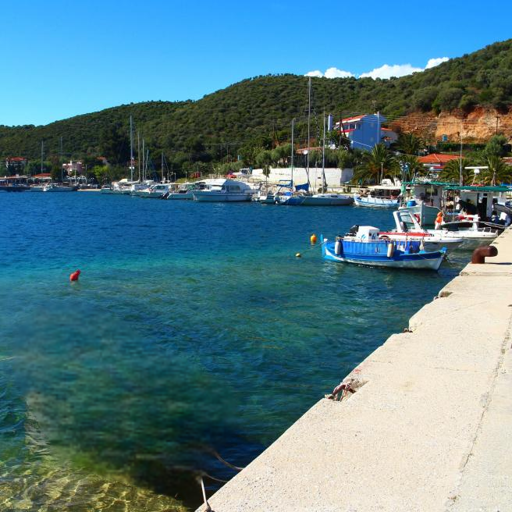
This runs a small, fast inpaint model on the masked area. Models can be loaded with Load Inpaint Model and are applied with the Inpaint (using Model) node. This works well for outpainting or object removal.
The following inpaint models are supported, place them in ComfyUI/models/inpaint:
| Input | LaMa | MAT |
|-|-|-|
|  |
|  |
|  |
|
Inpaint Post-processing
Denoise to Compositing Mask
Takes a mask, an offset (default 0.1) and a threshold (default 0.2). Maps mask values in the range of [offset → threshold] to [0 → 1]. Values below offset are clamped to 0, values above threshold to 1.
This is particularly useful in combination with ComfyUI's "Differential Diffusion" node, which allows to use a mask as per-pixel denoise strength. Using the same mask for compositing (alpha blending) defeats the purpose, but no blending at all degrades quality in regions with zero or very low strength. This node creates a mask suitable for blending from the denoise-mask.
Example Workflows
Example workflows can be found in workflows.
- Simple: basic workflow, ignore previous content, 100% replacement
- Refine: advanced workflow, refine existing content, 1-100% denoise strength
- Outpaint: workflow for outpainting with pre-processing
- Pre-process: complex workflow for experimenting with pre-processors
- Promptless: same as above but without text prompt, requires IP-Adapter
Installation
Use ComfyUI Manager and search for "ComfyUI Inpaint Nodes".
or download the repository and put the folder into ComfyUI/custom_nodes.
or use GIT:
cd ComfyUI/custom_nodes
git clone https://github.com/Acly/comfyui-inpaint-nodes.git
Restart ComfyUI after installing!
OpenCV is required for telea and navier-stokes fill mode:
pip install opencv-python
Acknowledgements
- Fooocus Inpaint: lllyasviel/Fooocus
- LaMa: advimman/lama
- MAT: fenglinglwb/MAT
- LaMa/MAT implementation: chaiNNer-org/spandrel