Nodes Browser
ComfyDeploy: How ComfyUI OOTDiffusion works in ComfyUI?
What is ComfyUI OOTDiffusion?
A ComfyUI custom node that simply integrates the [a/OOTDiffusion](https://github.com/levihsu/OOTDiffusion) functionality.
How to install it in ComfyDeploy?
Head over to the machine page
- Click on the "Create a new machine" button
- Select the
Editbuild steps - Add a new step -> Custom Node
- Search for
ComfyUI OOTDiffusionand select it - Close the build step dialig and then click on the "Save" button to rebuild the machine
ComfyUI OOTDiffusion
A ComfyUI custom node that simply integrates the OOTDiffusion functionality.
一个简单接入 OOTDiffusion 的 ComfyUI 节点。

Example workflow: workflow.json
Instruction 指南
Create environment and download dependencies:
创建环境并下载依赖:
conda create -n ootd python=3.10
conda activate ootd

conda install pytorch torchvision torchaudio pytorch-cuda=12.1 -c pytorch -c nvidia

# Install nvcc compiler for torch cpp extensions
conda install cuda-nvcc -c nvidia

# Clone to custom_nodes
git clone https://github.com/AuroBit/ComfyUI-OOTDiffusion.git custom_nodes/ComfyUI-OOTDiffusion

# Install dependencies
pip install -r custom_nodes/ComfyUI-OOTDiffusion/requirements.txt
Simply start ComfyUI and drag the example workflow.json.
启动 ComfyUI 并拖入示例 workflow.json 即可。
Windows 指南
Windows 除了需要参照上面的配置教程,还需要额外配置 MSVC:
首先是 nvcc 安装(确保 VIRTUAL_ENV/bin/nvcc 存在):
conda install cuda-nvcc -c nvidia


根据自己系统选择 Windows 10 SDK / Windows 11 SDK.
注意:不要从 Installer 点击启动 terminal
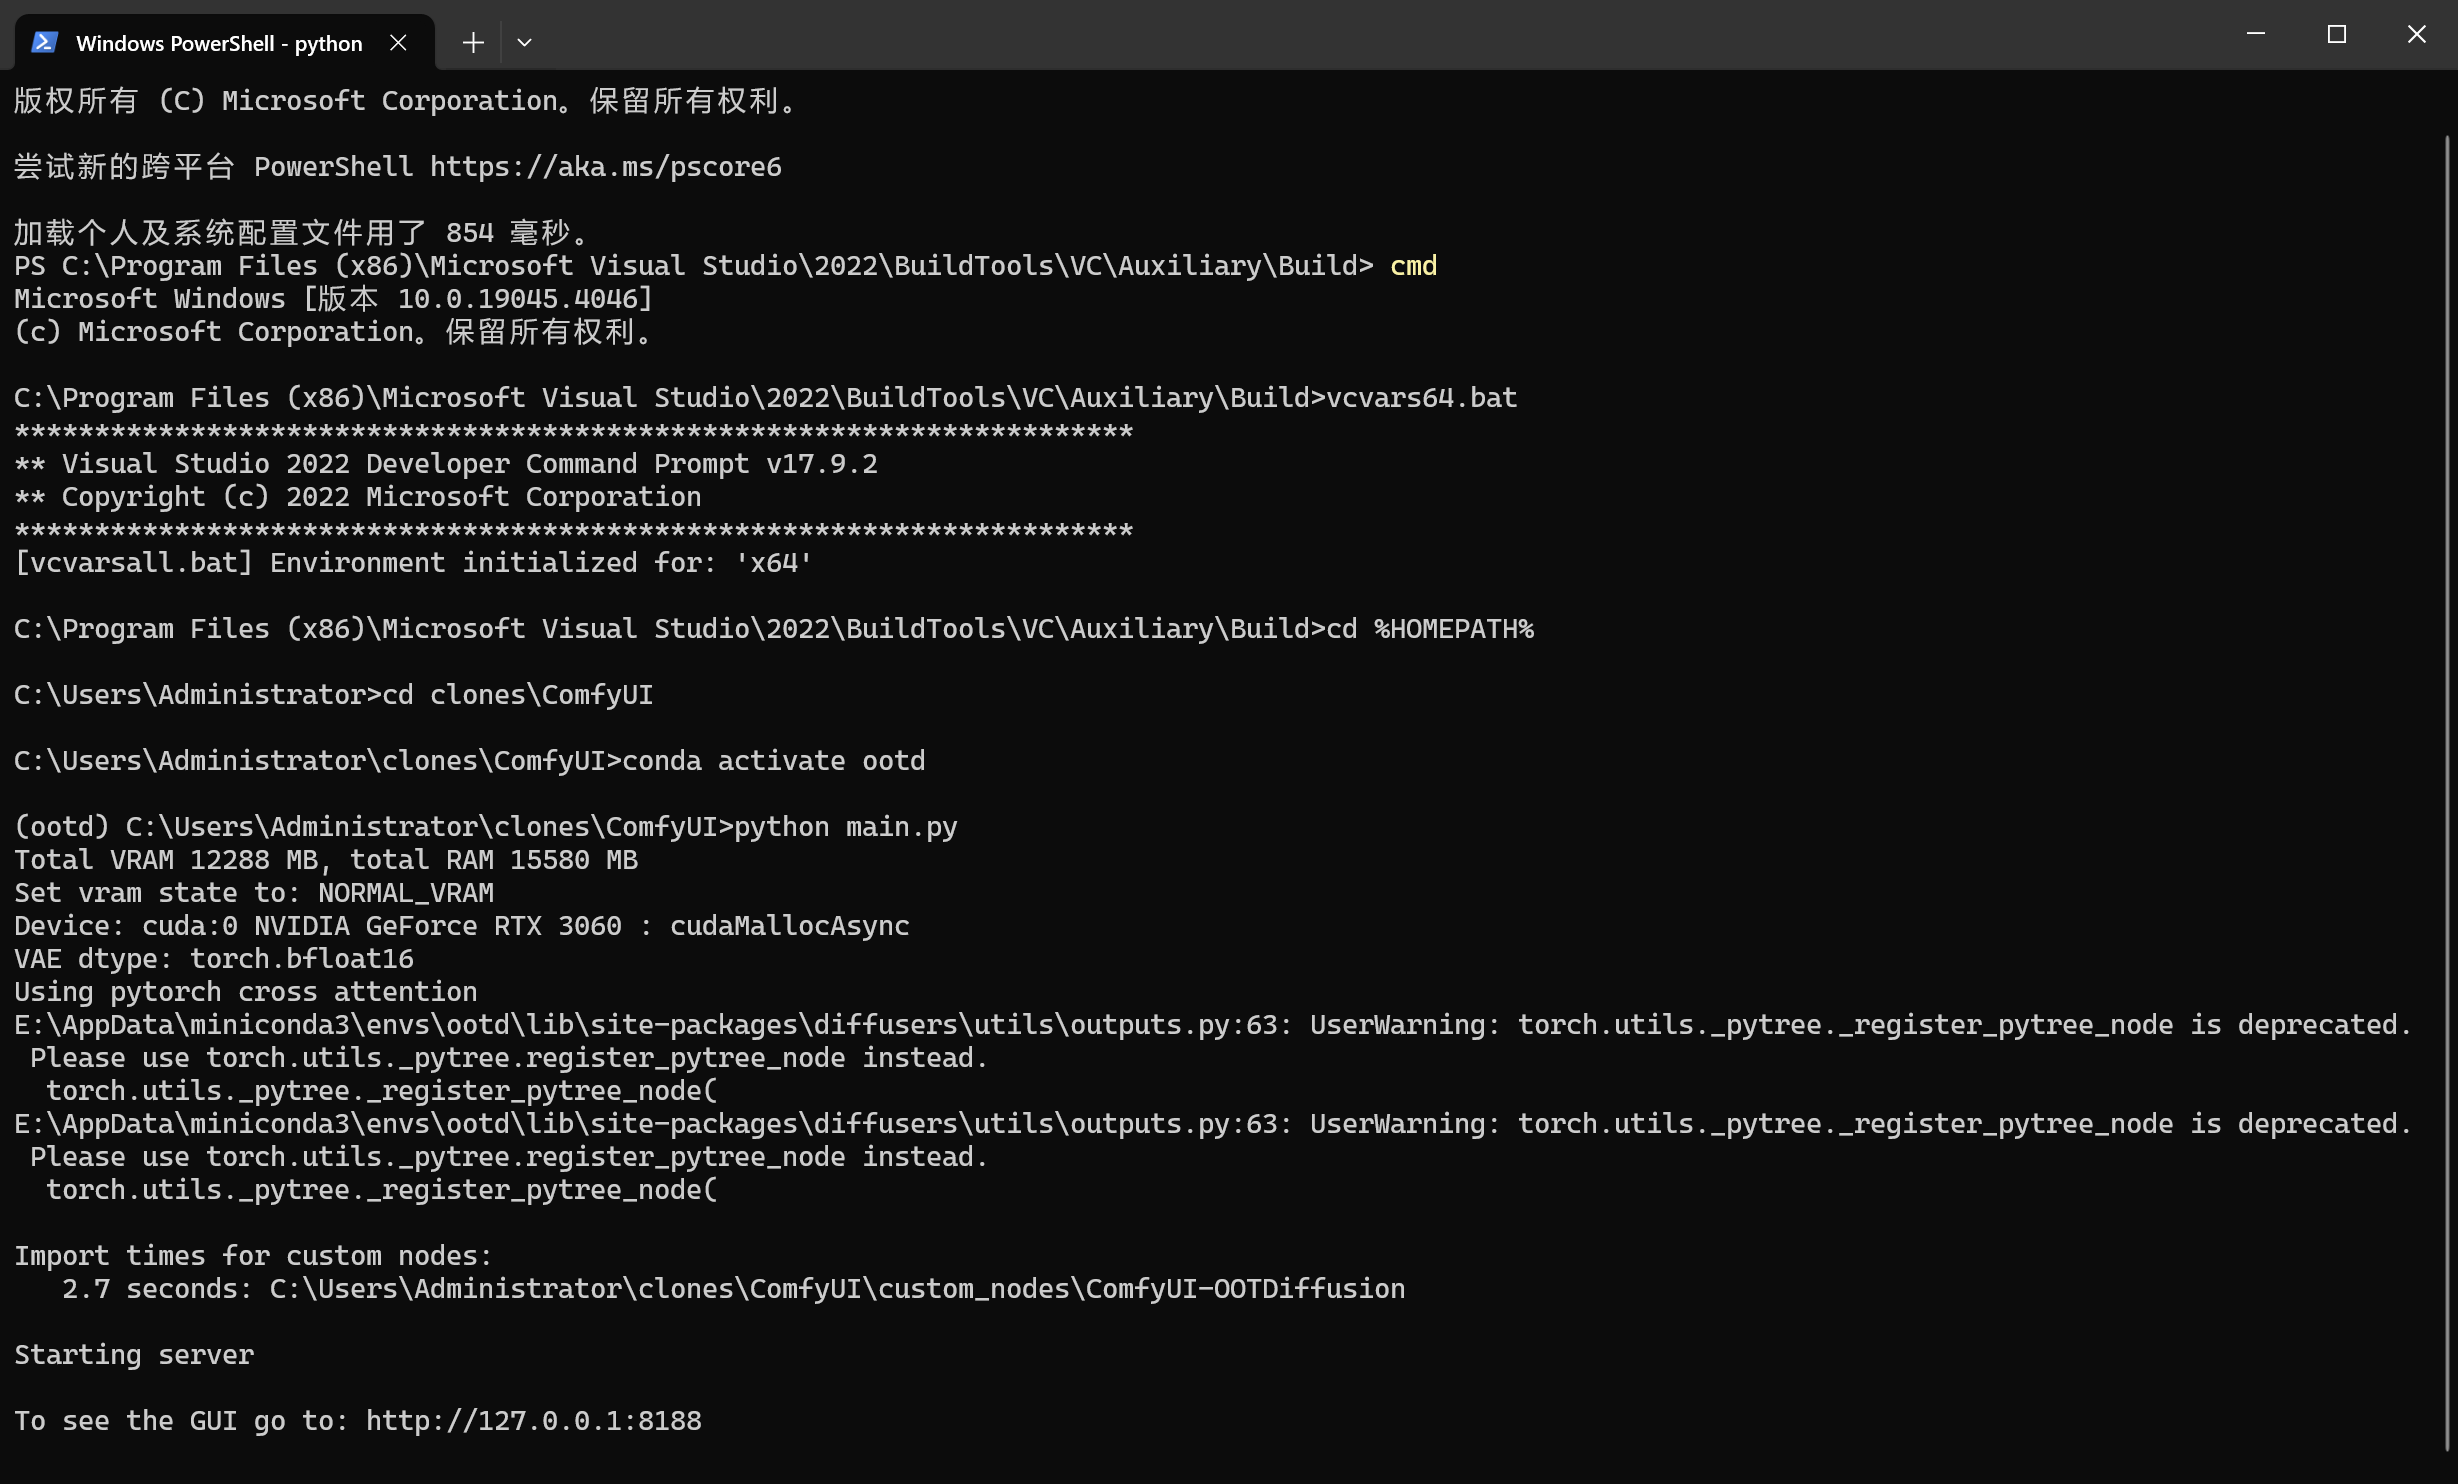
进入 C:\Program Files (x86)\Microsoft Visual Studio\2022\BuildTools\VC\Auxiliary\Build 目录,
右击进入 terminal,注意要用 CMD 不要 powershell。
启动 native x64 target x64 的编译环境变量(兼容环境下 nvcc 编译会报错):
vcvars64.bat

编译完成,成功启动。
diffusers 版本
main 分支锁定 diffusers==0.24
diffusers-0.26 分支锁定 diffusers==0.26.x
要切换分支,请使用下面命令:
git switch diffusers-0.26
并重新安装依赖:
pip install --force-reinstall -r custom_nodes/ComfyUI-OOTDiffusion/requirements.txt
FAQ 常见错误
fatal error: cuda_runtime.h: No such file or directory compilation terminated.
ninja: build stopped: subcommand failed.
解决办法:conda install cuda-toolkit=12.1 -c nvidia 并覆写 CUDA_HOME CUDA_PATH 环境变量
subprocess.CalledProcessError: Command '['where', 'cl']' returned non-zero exit status 1.
解决办法:仅在 Windows 下出现,根据 Windows 配置教程
Node 节点
Load OOTDiffusion Local: 从本地目录加载 OOTDiffusion Pipeline
Load OOTDiffusion from Hub: 从 huggingface 自动下载并加载 OOTDiffusion Pipeline
OOTDiffusion Generate: 生成图像
参数:
cfg: 输出图像和输入衣服的贴合程度
Example image 示例图片
更新日志 Release Note
2024-03-14:
添加 diffusers-0.26 分支
2024-03-10:
添加 humanparsing onnx 支持
2024-03-04:
添加 Full body 模型
2024-03-01:
添加 Windows 安装教程
2024-02-25:
移除 git lfs 下载教程,提供 Load OOTDiffusion from Hub 节点