Nodes Browser
ComfyDeploy: How ComfyUI_Ib_CustomNodes works in ComfyUI?
What is ComfyUI_Ib_CustomNodes?
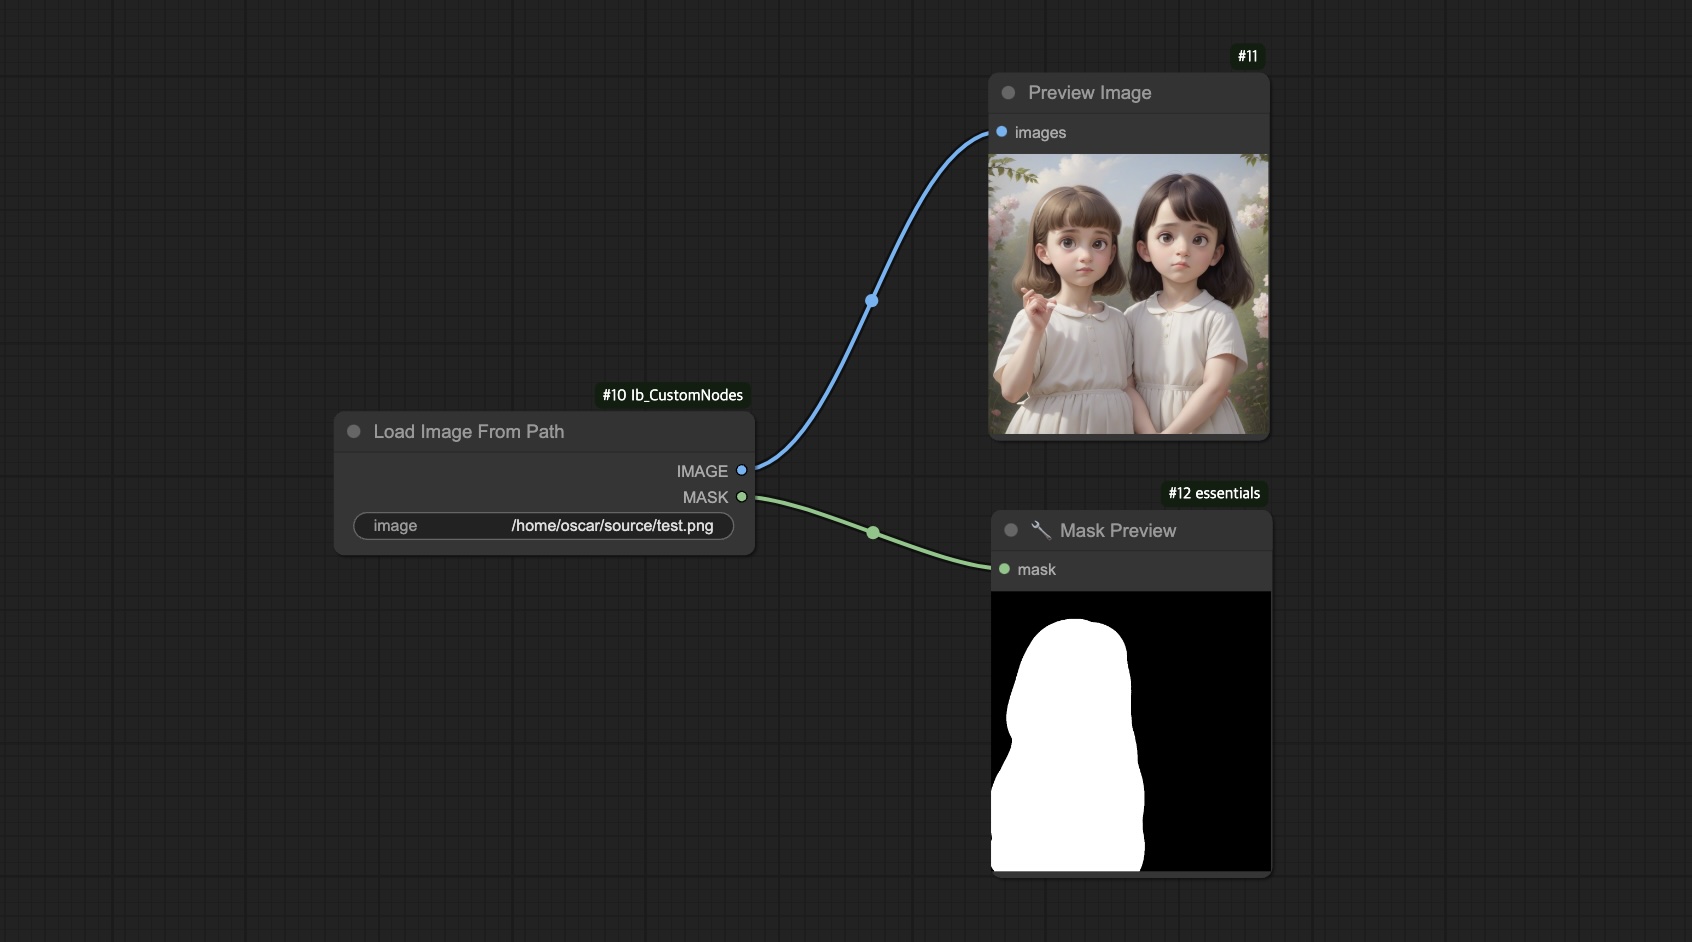
Nodes: LoadImageFromPath. Load Image From Path loads the image from the source path and does not have such problems.
How to install it in ComfyDeploy?
Head over to the machine page
- Click on the "Create a new machine" button
- Select the
Editbuild steps - Add a new step -> Custom Node
- Search for
ComfyUI_Ib_CustomNodesand select it - Close the build step dialig and then click on the "Save" button to rebuild the machine
ComfyUI_Ib_CustomNodes
Load Image From Path
def LoadImageFromPath(
    image: str = r'ComfyUI_00001_-assets\ComfyUI_00001_.png [output]'
) -> tuple[Image, Mask]
ComfyUI's built-in Load Image node can only load uploaded images, which produces duplicated files in the input directory and cannot reload the image when the source file is changed. Load Image From Path instead loads the image from the source path and does not have such problems.
One use of this node is to work with Photoshop's Quick Export to quickly perform img2img/inpaint on the edited image. Update: For working with Photoshop, comfyui-photoshop is more convenient and supports waiting for changes. See tutorial at r/comfyui.
The image path can be in the following format:
-
Absolute path:
D:\ComfyUI\output\ComfyUI_00001_-assets\ComfyUI_00001_.png -
Relative to the input directory:
ComfyUI_00001_-assets\ComfyUI_00001_.png [input] -
Relative to the output directory:
ComfyUI_00001_-assets\ComfyUI_00001_.png [output] -
Relative to the temp directory:
ComfyUI_00001_-assets\ComfyUI_00001_.png [temp]
Installation
Install via the Custom Nodes Manager in ComfyUI-Manager.
Usage Example

PIL.Image
def PILToImage(
    images: PilImage
) -> Image
def PILToMask(
    images: PilImage
) -> Image
def ImageToPIL(
    images: Image
) -> PilImage