Nodes Browser
ComfyDeploy: How comfyui's gaffer(ComfyUI native implementation of IC-Light. ) works in ComfyUI?
What is comfyui's gaffer(ComfyUI native implementation of IC-Light. )?
Nodes:Load ICLight Model,Apply ICLight,Simple Light Source,Calculate Normal Map
How to install it in ComfyDeploy?
Head over to the machine page
- Click on the "Create a new machine" button
- Select the
Editbuild steps - Add a new step -> Custom Node
- Search for
comfyui's gaffer(ComfyUI native implementation of IC-Light. )and select it - Close the build step dialig and then click on the "Save" button to rebuild the machine
ComfyUI Gaffer
comfyui's gaffer
Important updates
- 2024-05-12: ComfyUI native implementation of IC-Light.
Install
-
Recommended use ComfyUI Manager for installation.
-
Or open the cmd window in the plugin directory of ComfyUI, like
ComfyUI\custom_nodes,typegit clone https://github.com/huagetai/ComfyUI-Gaffer.git -
Or download the zip file and extracted, copy the resulting folder to
ComfyUI\custom_ Nodes -
Download models
You can download models here: https://huggingface.co/lllyasviel/ic-light/tree/main There are 3 models:
- iclight_sd15_fc.safetensors: Use this in FG workflows
- iclight_sd15_fcon.safetensors: Use this in FG workflows
- iclight_sd15_fbc.safetensors: Use this in BG workflows
After you download these models, please put them under ComfyUI/models/iclight.
-
Restart ComfyUI.
Usage
-
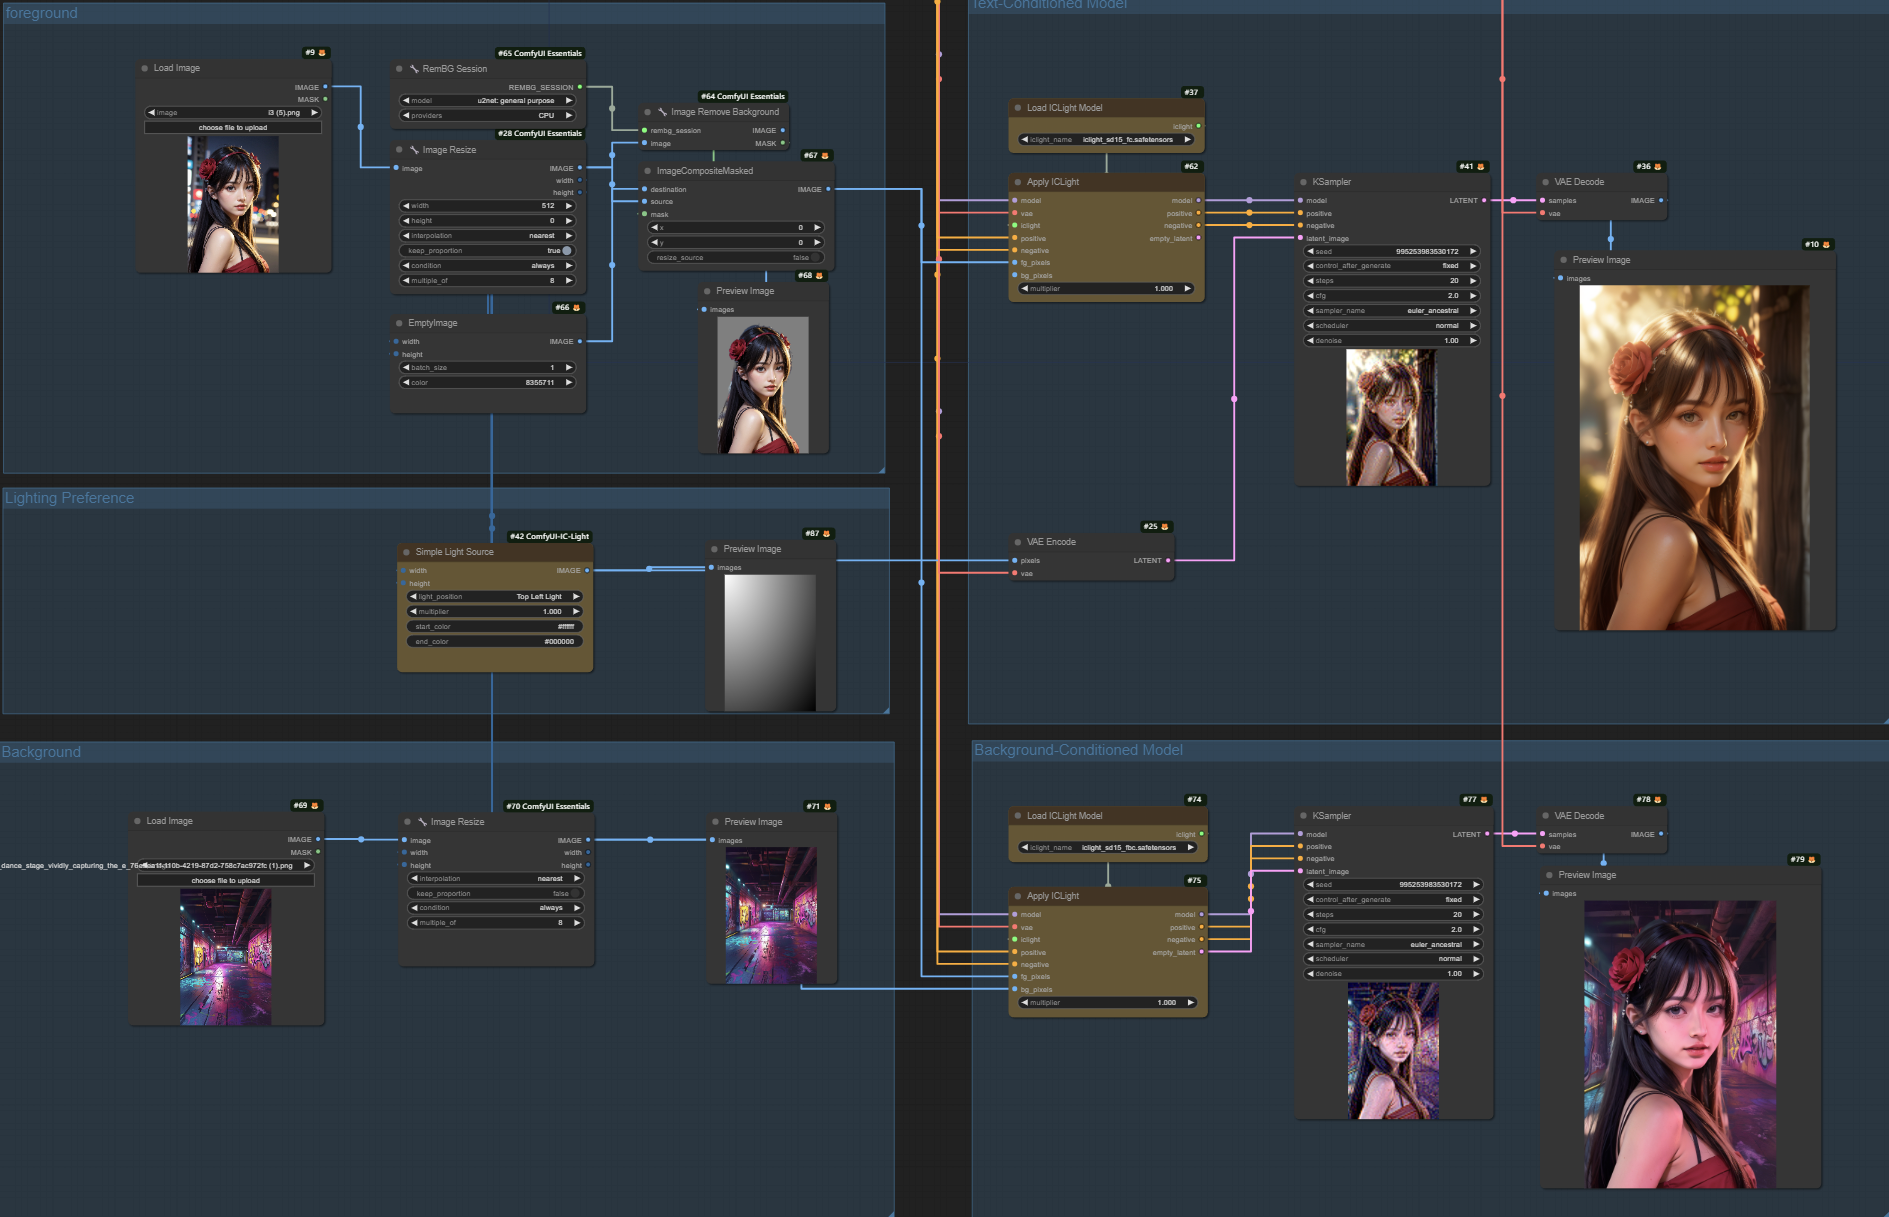
Text-Conditioned Model
-
refer to: Text + foreground Conditioned
-
refer to: Text + foreground + Lighting Preference Conditioned
-
-
Background-Conditioned Model
-
Calculate Normal
- refer to: Calculate Normal
-
animated
-
refer to: Animated
-
tips: Lighting Preference Requires ComfyUI-KJNodes
-
-
tips
- Model description and input foreground and background images can be obtained IC-Light
- The overall brightness can be controlled through the grayscale. refer to grayscaler-compare
Nodes
-
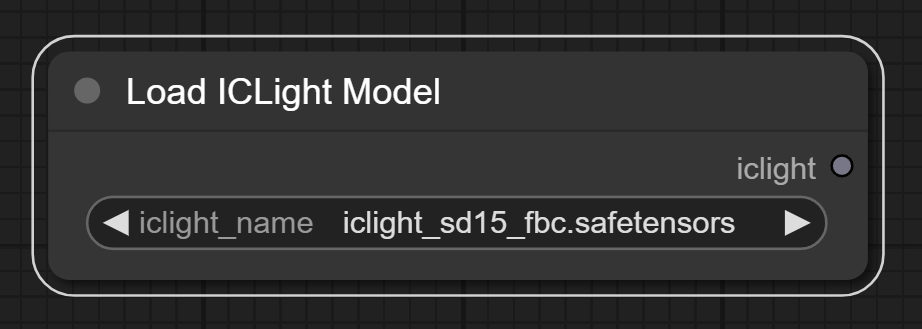
Load ICLight Model Node
Load ICLight Model
input:
- iclight_name: The name of the ICLight model to load.
output:
- iclight: ICLight model information.
-
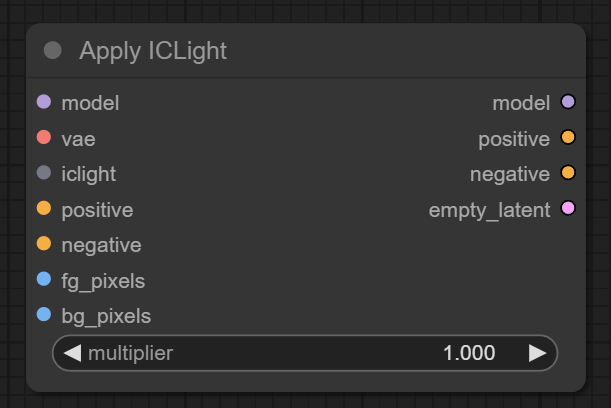
Apply ICLight Node
Apply ICLight
input:
- model: base model
- vae: VAE
- iclight: ICLight model information.
- position: position prompts
- negative: negative prompts
- fg_pixels: foreground image.The background of the foreground image needs to be removed, and it is recommended to set it to a grayscale background.
- bg_pixels: background image(optional).Required for Background-Conditioned Model.Consistent with the width and height of the foreground image
- multiplier: strength of ic-light model
output:
- model: model with ICLight
- position: position prompts
- negative: negative prompts
- empty_latent: Empty Latent Image.The width and height are consistent with the foreground image.
-
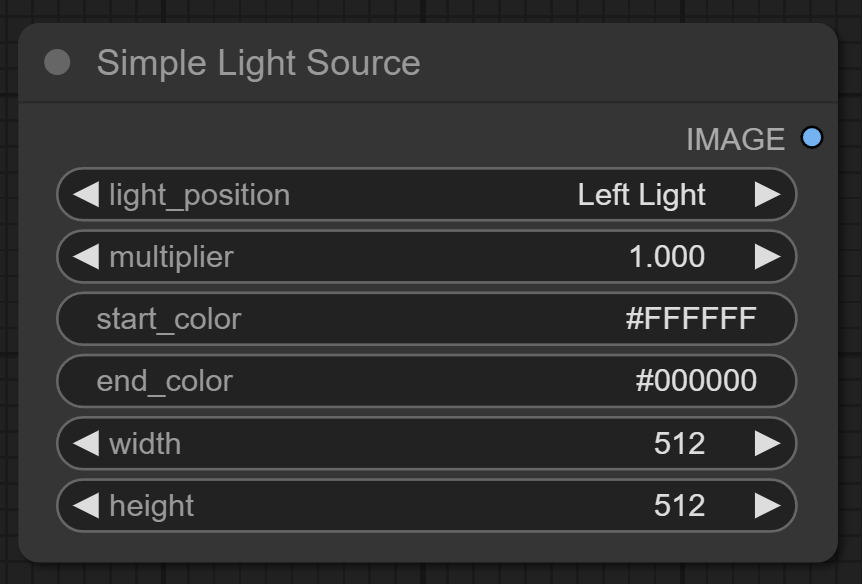
Simple Light Source Node
Simple Light Source for Lighting Preference
input:
- light_position: Left Light, Right Light, Top Light, Bottom Light, Top Left Light, Top Right Light, Bottom Left Light, Bottom Right Light
- multiplier: strength of Lighting Preference
- start_color: start color of Lighting Preference
- end_color: end color of Lighting Preference
- width: The width of Lighting Preference
- height: The height of Lighting Preference tips:Consistent with the width and height of the foreground image
output:
- image: Lighting Preference.
tips:
- different effects can be achieved by setting the start color and end color.
-
Calculate Normal Map Node
Calculate Normal Map
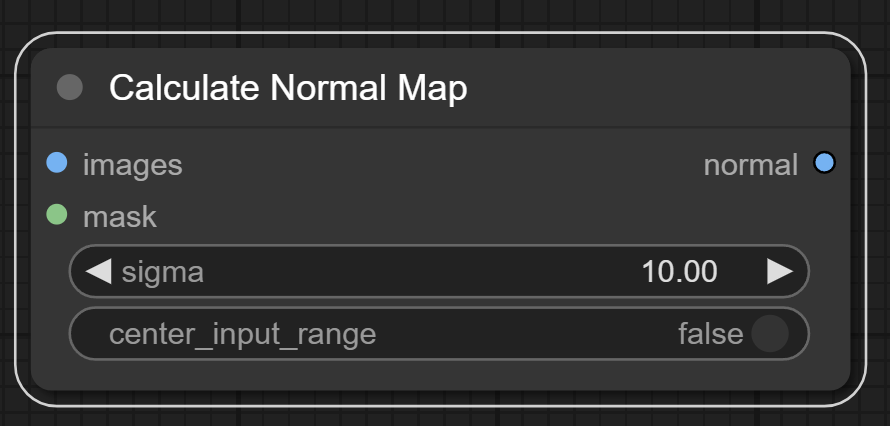
input:
- images: A sequence of input images
- mask: Optional, a mask image to specify the computation region.
- sigma: The standard deviation for Gaussian blur, controlling the smoothness of the normal calculation.
- center_input_range: The range used to center the input images.
output:
- normal: normal map
tips:The node from kijai-ComfyUI-IC-Light project
-
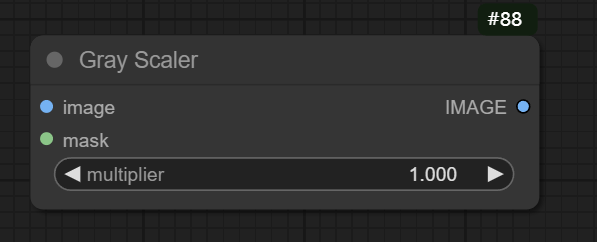
Gray Scaler Node
Scales the image area to gray according to the provided mask.
-
input:
- image: transparent background image.
- mask: mask indicating areas to be converted to grey.
- multiplier: A value to control the intensity of the grey conversion.
output:
- image: gray background image.