Nodes Browser
ComfyDeploy: How ComfyUI-Sn0w-Scripts works in ComfyUI?
What is ComfyUI-Sn0w-Scripts?
A collection of nodes and improvements created for general ease and lora management. These are just nodes I made and found useful, they should work with most other nodes. Most nodes that take in a prompt are made with booru tags in mind and might not work as expected with other prompts.
How to install it in ComfyDeploy?
Head over to the machine page
- Click on the "Create a new machine" button
- Select the
Editbuild steps - Add a new step -> Custom Node
- Search for
ComfyUI-Sn0w-Scriptsand select it - Close the build step dialig and then click on the "Save" button to rebuild the machine
This extension contains a collection of nodes and improvements created for lora management and general quality of life.
[!IMPORTANT] If you have saved a workflow with the
sn0w ksamplernode, make sure to re-save the workflow before the new comfyui frontend is implemented as the old implementation will corrupt your workflow.
Get Started
Install
- Install ComfyUi.
- Clone this repo into
custom_nodes:git clone https://github.com/sn0w12/ComfyUI-Sn0w-Scripts - Start up ComfyUI.
Alternatively install through ComfyUI-Manager.
Configuration
In the ComfyUI settings, you can modify various settings. Some changes will apply immediately, while others require a refresh to take effect.
Settings
| Setting | Options | Definition | | ----------- | ----------- | ----------- | | Animagine Prompt Style | True / False | Places "1girl/1boy" at the beginning of your prompts in the "Prompt Combine" node. | | Custom Lora Loaders SD... | Textbox | Allows creation of new LoRa loaders by specifying their name and path. | | Custom Textbox Colors | Textbox | Sets the highlight color for text in textboxes. | | Custom Textbox Gradient Highlight | True / False | Makes the textbox highlighting be a gradient between the first and last color based on the strength of the selection. | | Disable Default Characters | True / False | Disables the loading of the default characters in the "Character Selector" node. | | Highlight Favourite Items | True / False | Highlights favorite LoRas and characters in green. | | Logging Level | Warnings<br>Informational<br>Debug | Sets the severity level of logs that will be printed. | | Max Difference in Lora Loading | 0 - 100 | Specifies the maximum allowable difference between a tag and a LoRa for it to be loaded. | | Random Characters from Favourites Only | True / False | Ensures random characters are selected only from your favorited characters. | | Remove Lora Path | True / False | Removes the path information from loras and only keeps the name. | | Sort Characters By | Alphabetically<br>Series | Sorts characters either alphabetically or by their series. | | Sort Loras By | Alphabetically<br>Last Changed | Sorts loras either alphabetically or by latest changed. |
[!IMPORTANT] The custom lora loaders require these paths to be in your
extra_model_paths.yaml(with your real directories of course). You only need to add the ones you are actively using.
loras:
    base_path: D:/Ai/Lora/loras

    loras_15: /1.5 # SD1.5
    loras_xl: /XL # SDXL
    loras_3: /3 # SD3
Major Features
Lora Management
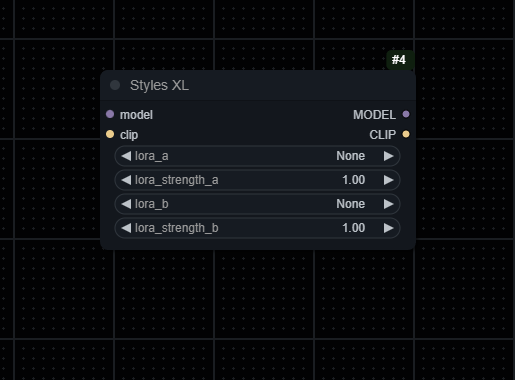
A major focus for me was making loras more manageable by letting users create their own lora loaders with specific folder paths and automatically loading loras based on tags. This makes browsing through your Loras much easier, though it may limit which Loras you can use depending on your configuration. You can configure custom Lora loaders in the ComfyUI settings with the following format:
ExampleName1:Value1
To create a Lora stack, add a number to the end:
Styles XL:style:2
Favourite Loras & Characters
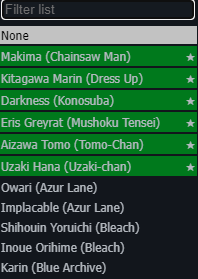
The custom Lora loaders and the character selector feature allow you to mark Loras and characters as favorites, placing them at the top of the loaders for easy access. Favorite Loras are accessible across all your custom Lora loaders and the standard Lora loader, although the standard loader does not sort them correctly.
Sort Loras
There are options to sort your loras either alphabetically or by the latest changed file. You can also remove the path information to keep the loader clean. Do note that if you remove the path information and have two loras with the same filename in different paths it will not be able to differentiate them.
Text Highlighting
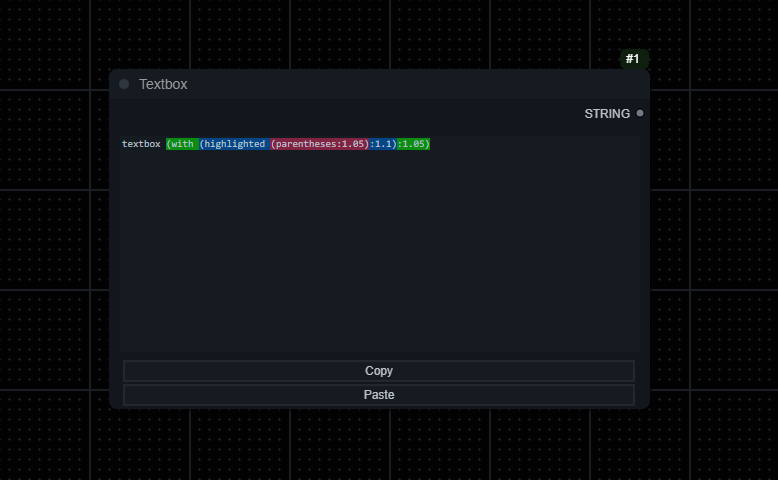
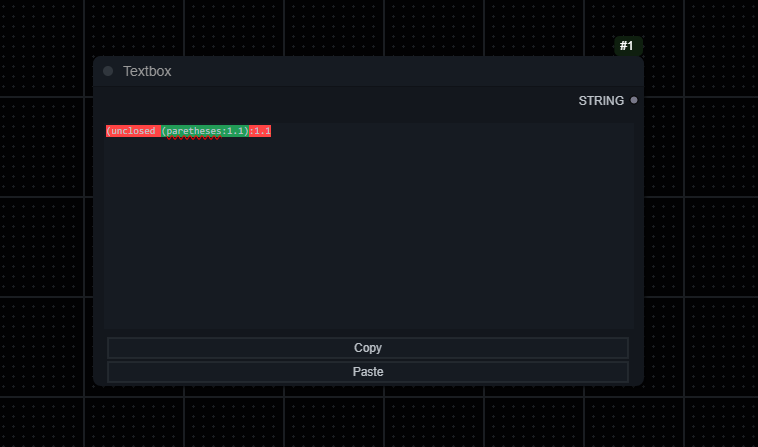
Text in the copy/paste textbox will be highlighted when the text is in parentheses. You can change the colors of the highlighting by changing the [Sn0w] Custom Textbox Colors setting, there should be one either rgb rgb(0, 0, 0) or hex #000000 color per line. You can choose to either do the highlighting by the strength of the text or the nested level it is in.
Nesting | Strength
:-------------------------:|:-------------------------:
 |
| 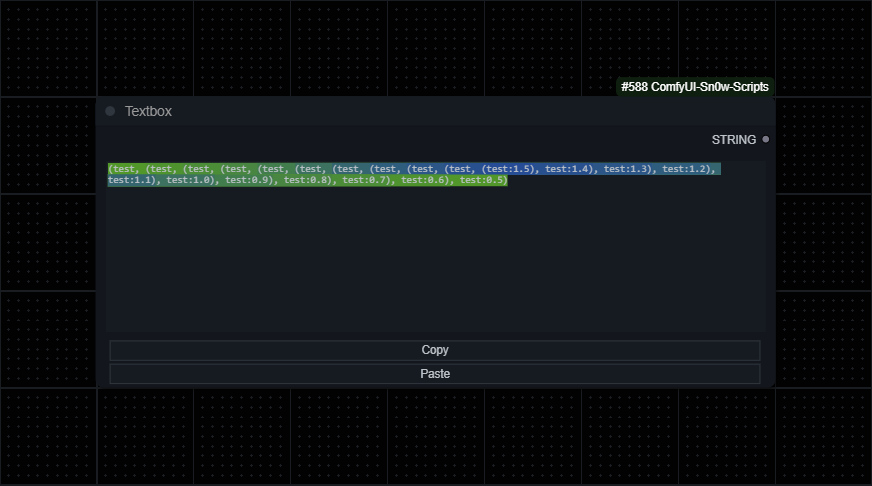
If you have unclosed parentheses it will be highlighted in red.
Custom Schedulers
You can write your own custom scheduler in src/custom_schedulers and they will be added as a custom node, just make sure to follow the example in get_sigmas_sigmoid.py
Sigmoid Scheduler
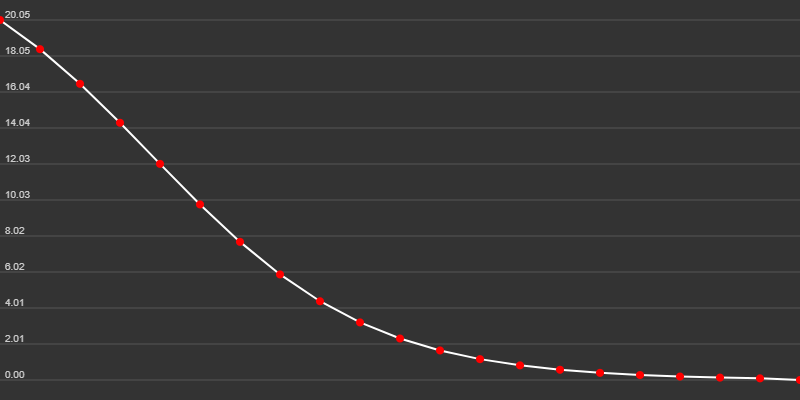
A custom scheduler that generally produces similar quality results as most other schedulers in my testing. However it works very poorly at low steps which may be an issue for some. Mostly written as an example for custom schedulers.
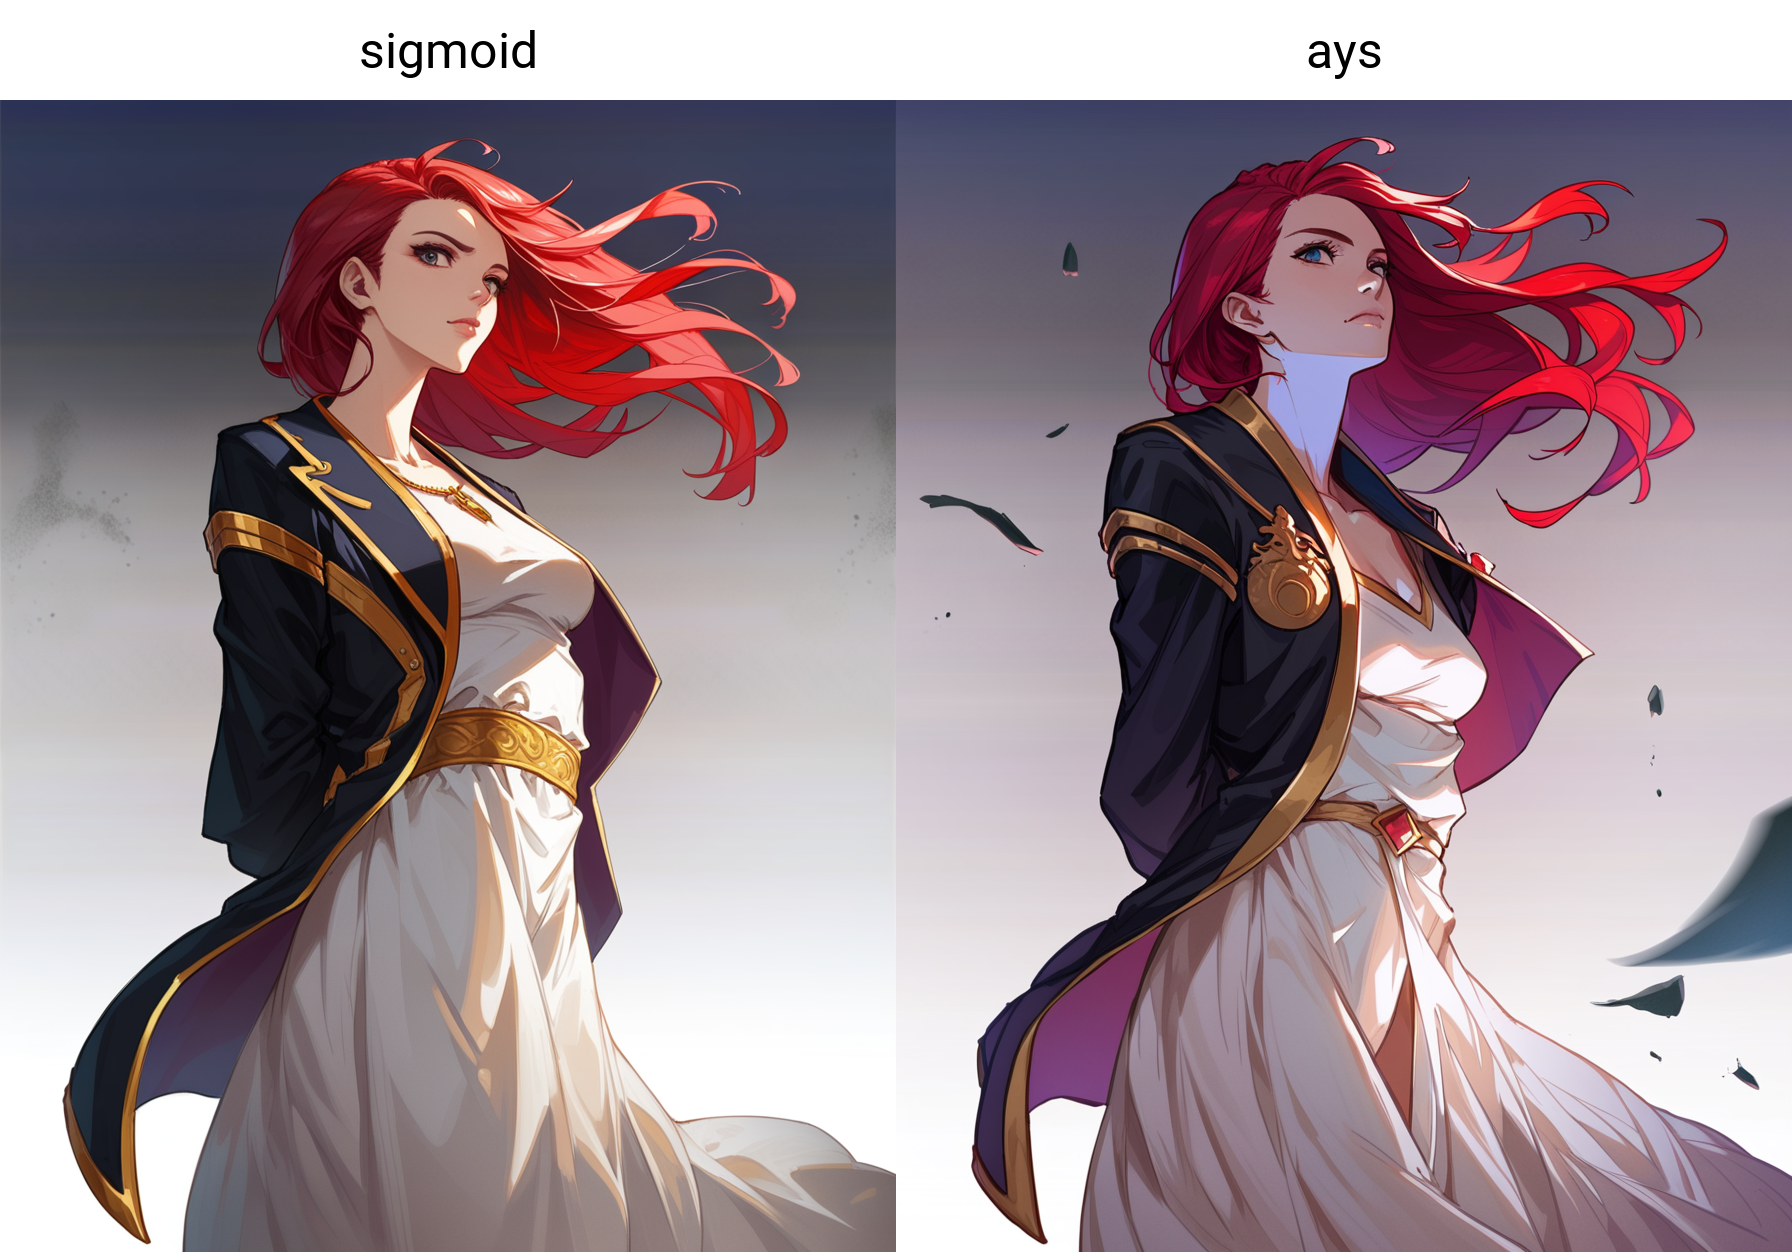
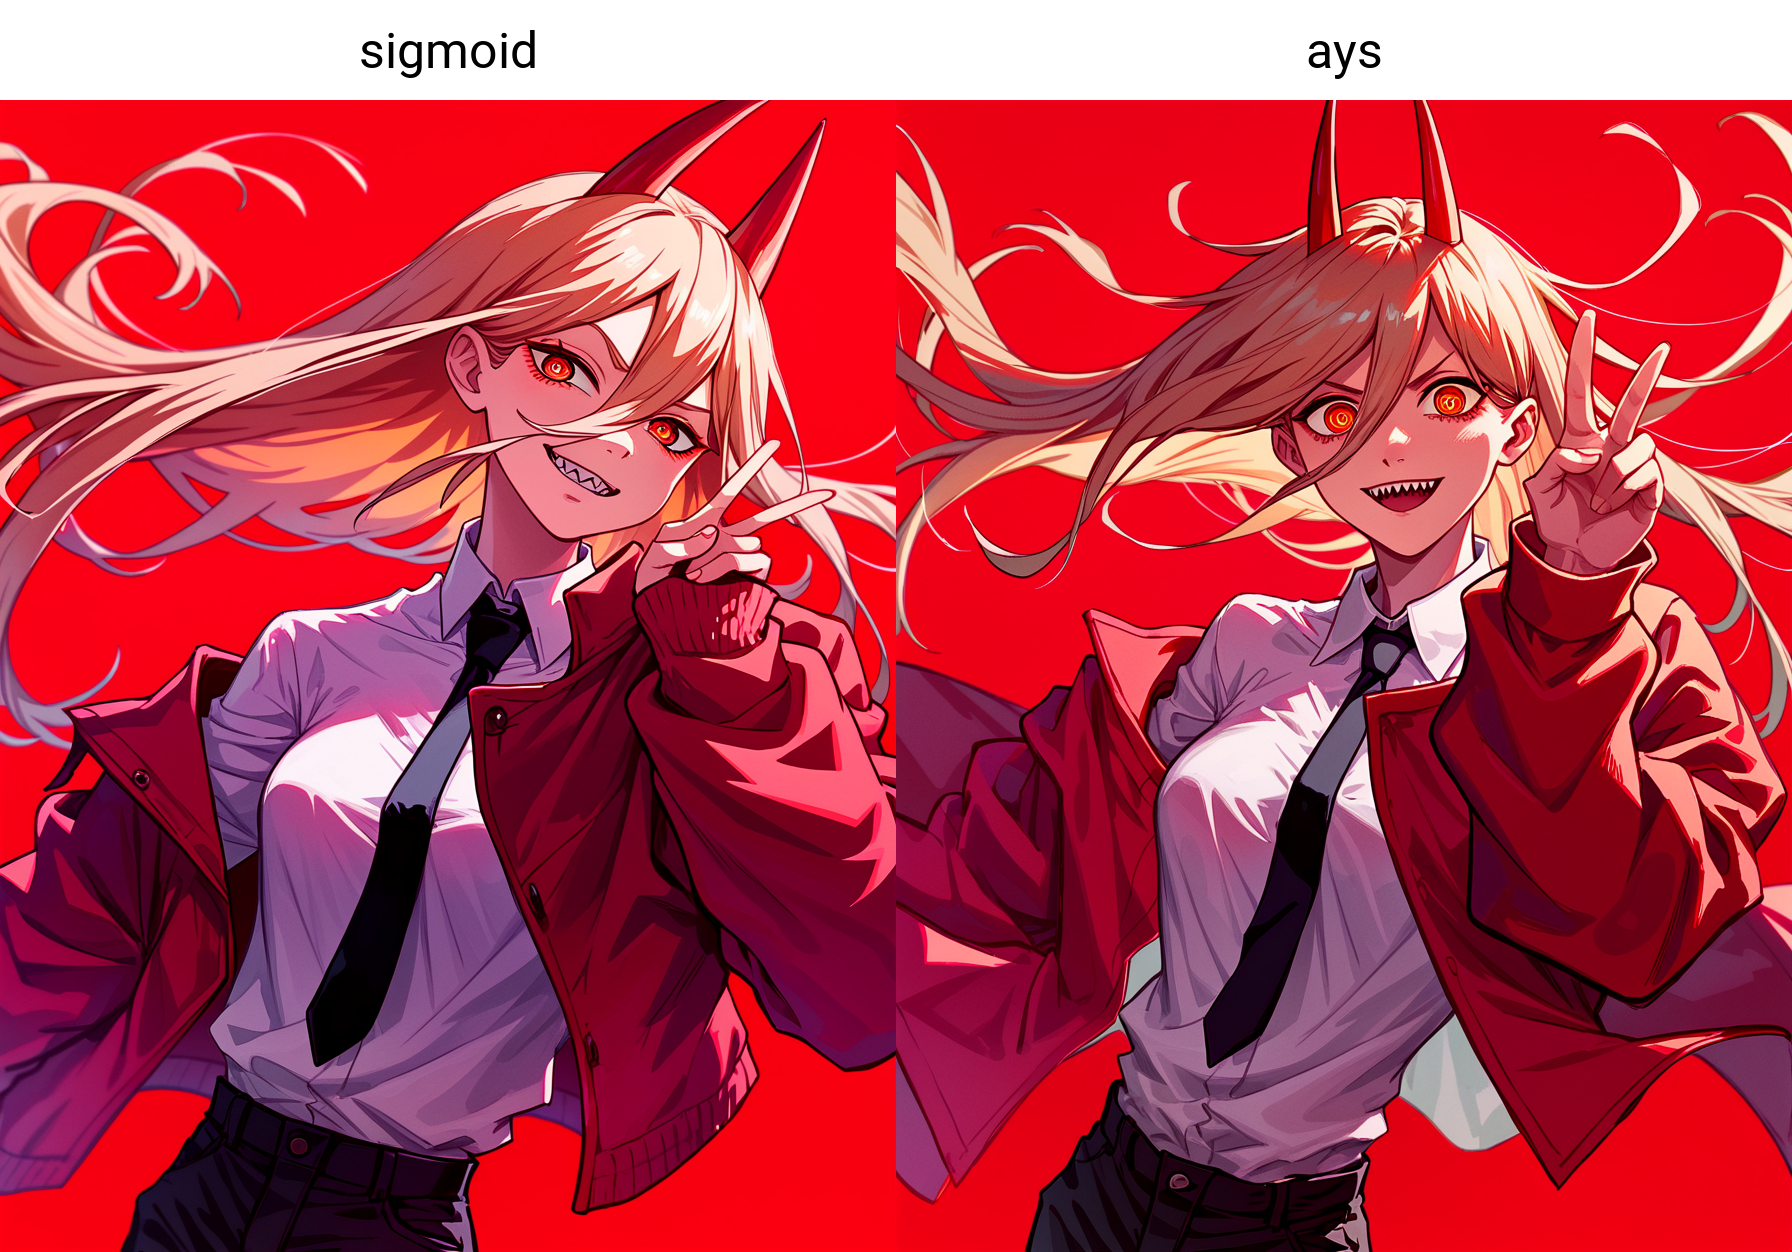
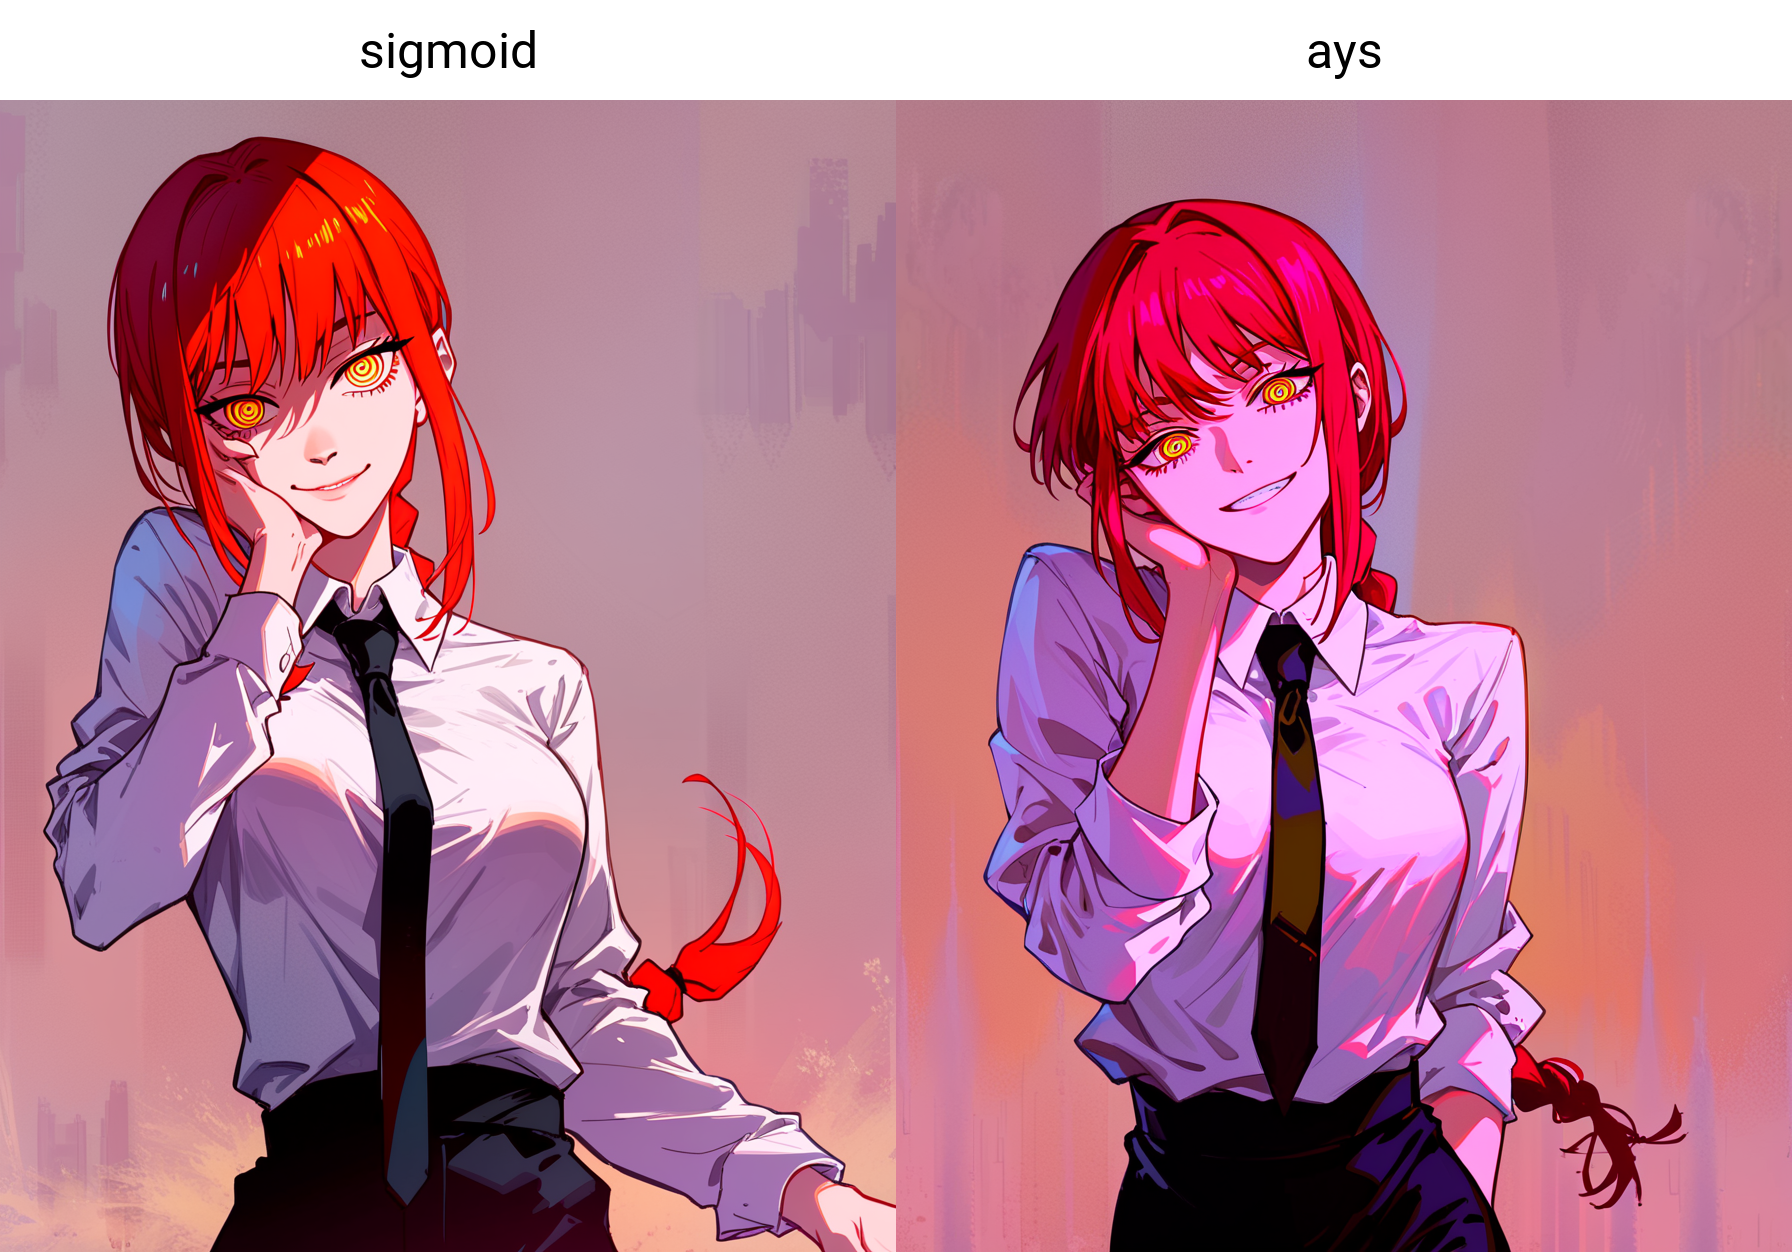
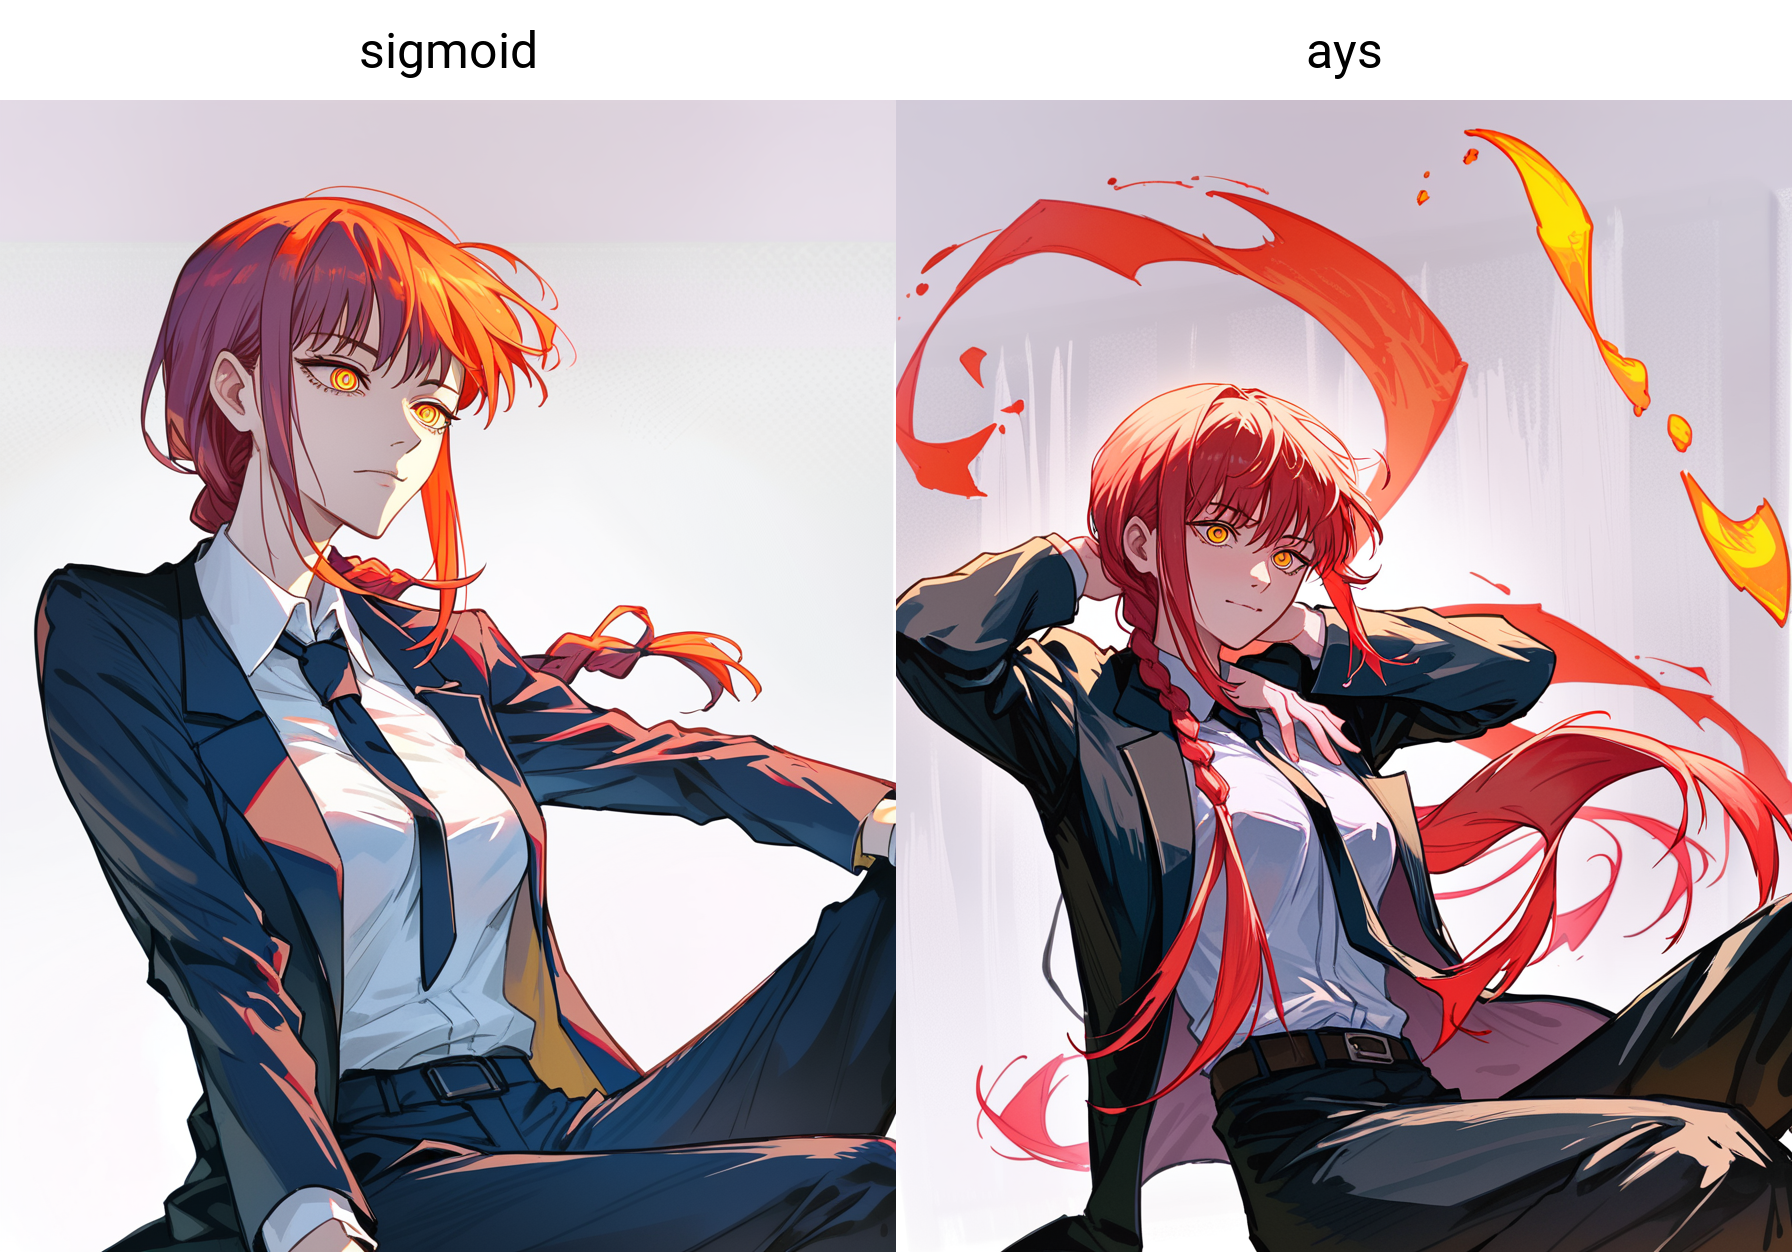
Sigmoid vs Align your steps
<details> <summary><i>Comparisons</i></summary> Images generated at 20 steps, 8 cfg, 1152 x 896, no upscaling.<br> Sigmoid settings at 20 sigma max, 0 sigma min, 3.5 steepness and 0.8 midpoint ratio.(score_9, score_8_up, score_7_up, score_6_up, source_anime, BREAK:1.1), 1girl, lips, long hair, grey eyes, black coat, medium breasts, cowboy shot, black robe, gold jewelry, looking at viewer, simple background, solo, white background, closed mouth, arms behind back, (red hair, dress, long dress, robe, white dress, gold trim:1.1)
(power \(chainsaw man\), chainsaw man:1.1), blonde hair, cross-shaped pupils, demon girl, demon horns, double-parted bangs, hair between eyes, long hair, red horns, symbol-shaped pupils, yellow eyes, 1girl, black necktie, black pants, collared shirt, double v, looking at viewer, necktie, orange eyes, pants, parted lips, red background, red jacket, sharp teeth, shirt partially tucked in, shirt tucked in, simple background, sleeves past wrists, smile, solo, teeth, v, white shirt, (score_9, score_8_up, score_7_up, score_6_up, source_anime, BREAK:1.1)
(score_9, score_8_up, score_7_up, score_6_up, source_anime, BREAK:1.1), (makima \(chainsaw man\), chainsaw man:1.1), hair between eyes, long hair, medium breasts, red hair, ringed eyes, yellow eyes, 1836547, 1girl, @ \(symbol\), black necktie, braided ponytail, business suit, collared shirt, formal, light smile, looking at viewer, necktie, office lady, sidelocks, simple background, smile, solo, suit, white shirt
(score_9, score_8_up, score_7_up, score_6_up, source_anime, BREAK:1.1), (makima \(chainsaw man\), chainsaw man:1.1), hair between eyes, long hair, medium breasts, red hair, ringed eyes, yellow eyes, 1girl, black jacket, black necktie, black pants, black vest, closed eyes, collared shirt, formal, necktie, pants, shirt tucked in, simple background, sitting, solo, suit jacket, vest, white background, white shirt</details>
Sigmoid graph
Nodes
Image Processing
Nodes that are specifically for generating and processing images.
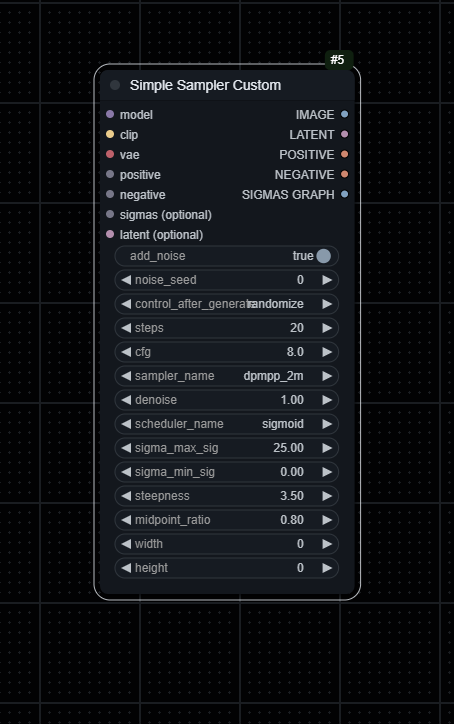
Sn0w KSampler
Ksampler with more settings and optional inputs. Support for custom schedulers
<details> <summary>ℹ️ <i>See More Information</i></summary>
- Can take both text and conditioning as positive and negative input.
- Can take a latent image or can generate one if none is provided.
- Supports schedulers such as align your steps, you can also create your own scheduler in
src/custom_schedulers/, make sure to follow the example provided inget_sigmas_sigmoid.py.- You can also just get the sigmas from any of the scheduler nodes and drag them into
sigmas (optional), if you do the scheduler widget will not be used.</details>
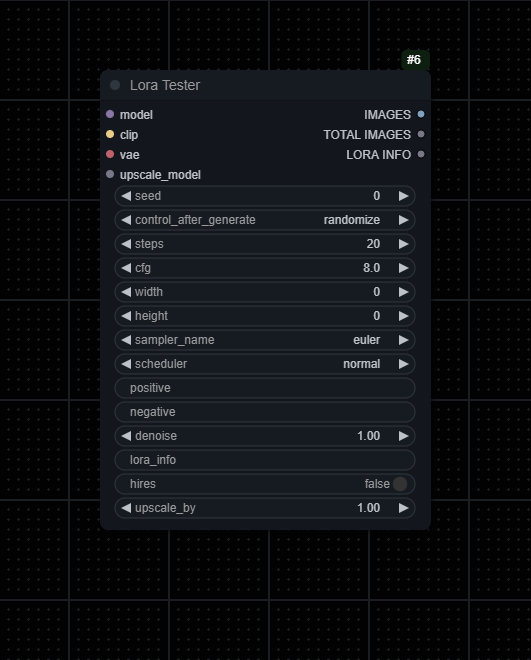
Lora Tester
Automatically generates X amount of images with provided loras.
<details> <summary>ℹ️ <i>See More Information</i></summary>
- I recommend making lora_info and add_default_generation inputs and using the outputs from the Lora Selector.
- Takes normal KSampler input but takes positive and negative inputs as text.
- Outputs a batch of images.
</details>
Lora Management
Nodes that handle lora selection, stacking, and loading.
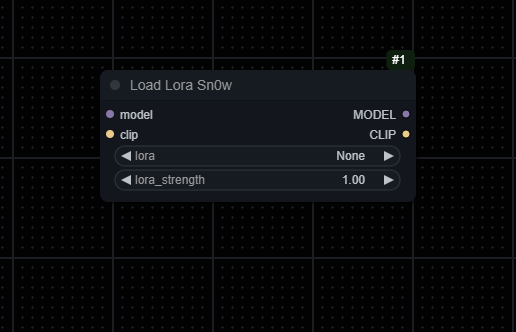
Load Lora Sn0w
Normal load lora but can put favourite loras at the top of the list.
<details> <summary>ℹ️ <i>See More Information</i></summary></details>
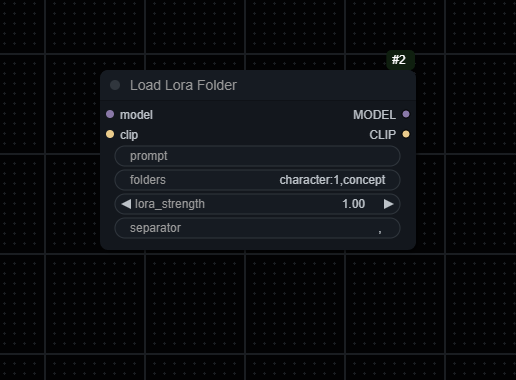
Load Lora Folder
Dynamically applies Lora models based on similarity to a provided prompt.
<details> <summary>ℹ️ <i>See More Information</i></summary>
- This node processes a given prompt to identify and apply the most similar Lora models of the tags found in the prompt.
- For each part of the prompt, the node calculates a distance between tags and available Lora model filenames. The max distance can be chosen in the settings.
- Example folder input:
*master_folder, subfolder1:3, -excludefolder, subfolder2
*master_folderspecifies all paths must includemaster_folder.subfolder1:3indicates up to 3 models fromsubfolder1can be loaded.-excludefolderensures any path containingexcludefolderis ignored.subfolder2loads models from this subfolder without a numeric limit.- Note: You need the loras separated into XL and 1.5 as stated in the
Important Note.- Note: Loras need to be named very similarly to the tag, with at most 5 characters different. Words in the lora filename can be separated by spaces or underscores.
</details>
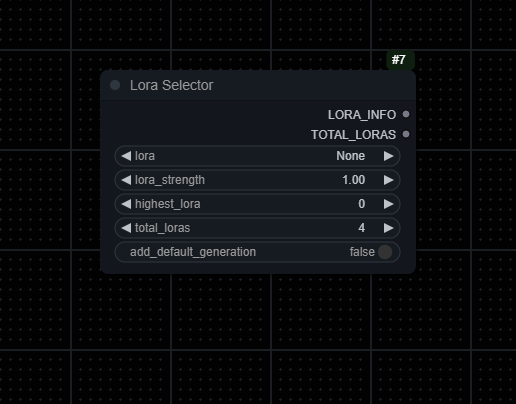
Lora Selector
Automatically selects X amount of loras between two numbers.
<details> <summary>ℹ️ <i>See More Information</i></summary>
- Loras have to be formatted like the default kohya_ss outputs. (lora_name-000001)
- Select the first lora.
- Select the number of the highest lora you want to test.
- Select the amount of loras you want to test.
- Outputs list of loras like this: <lora:name:strength>
- Add default generation adds an extra "nothing" at the end of the list, used in Lora Tester to generate an image without the lora.
</details>
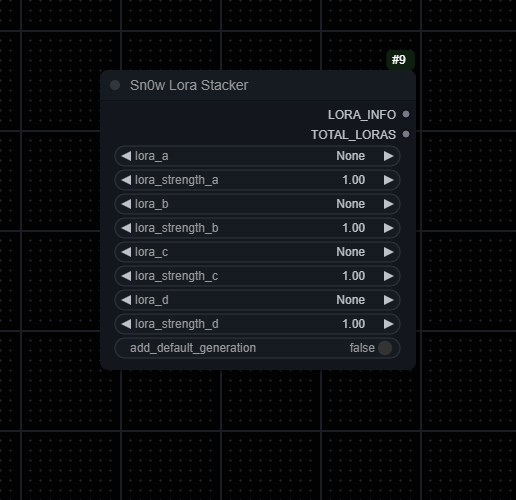
Lora Stacker
Outputs a list of loras for Lora Tester. Does not load any loras by itself.
<details> <summary>ℹ️ <i>See More Information</i></summary>
- Basically Lora Selector but manual.
- Specifically for the lora testers.
</details>
Character and Text Processing
Nodes for selecting and combining character and textual elements.
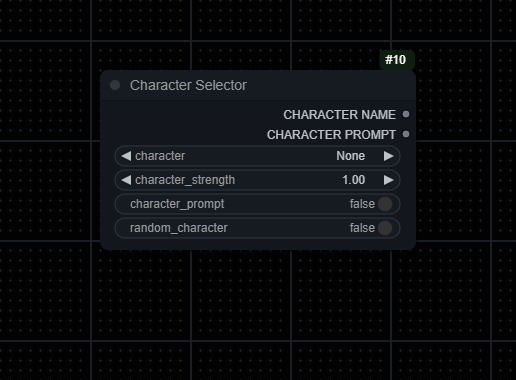
Character Selector
Outputs a character name and prompt.
<details> <summary>ℹ️ <i>See More Information</i></summary>
- Loads
characters.jsonand outputs prompt based on it.- You can create a file named
custom_characters.jsonand add characters there if you want, they will be loaded with all the other characters if you format it like thecharacters.jsonfile.- If
custom_characters.jsonhas a character with the same name ascharacters.jsonit will add the custom prompt at the end of the normal one, this can be useful if you have loras that need activation tags.</details>
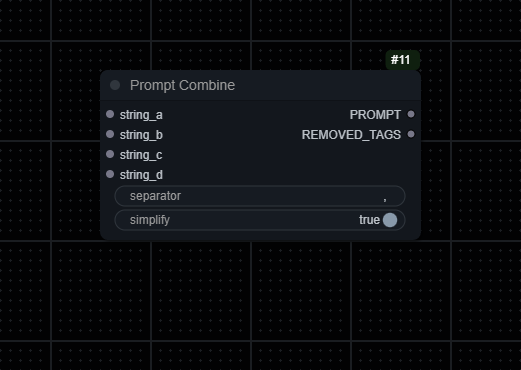
Prompt Combine
Combines multiple strings with a specified separator and optionally simplifies the result by removing redundant or incompatible tags.
<details> <summary>ℹ️ <i>See More Information</i></summary>
- If simplify is enabled, the simplification process identifies and removes redundant tags (e.g., when a tag is fully encompassed by another, more descriptive tag) and tags incompatible with factors such as facing away, covered eyes, etc. Any tags that are in parentheses will not be removed.
</details>
Utility Nodes
Nodes that provide utility functions across the system.
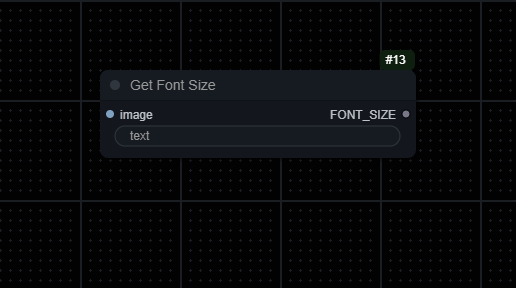
Get Font Size Node
Estimates the optimal font size for text to fit within an image based on Lora information.
<details> <summary>ℹ️ <i>See More Information</i></summary>
- This node takes an image and a string, estimating the best font size to ensure that the longest piece of the string fits within the image. The approach considers the image's width and the length of the text to find a size that balances visibility and fit.
</details>
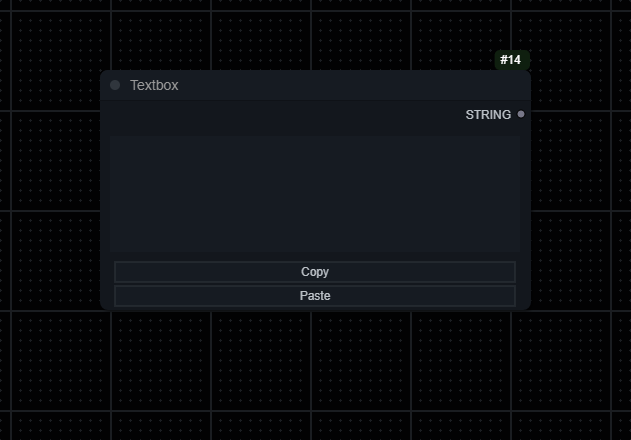
Copy/Paste Textbox
A multiline textbox with copy, paste and highlighting functionality.
<details> <summary>ℹ️ <i>See More Information</i></summary></details>
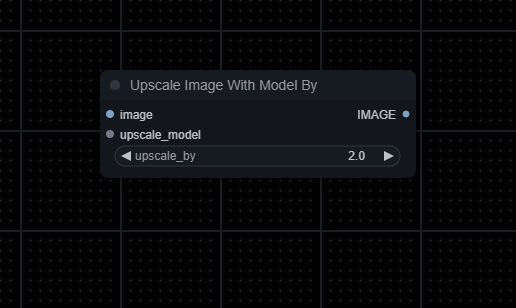
Upscale Image With Model By
Upscales an image by a certain amount with an upscale model.
<details> <summary>ℹ️ <i>See More Information</i></summary></details>
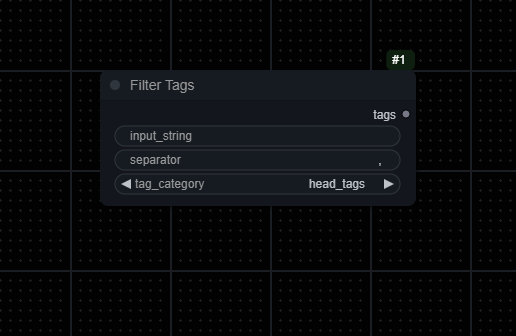
Filter Tags
<br>Filters a string to only returns tags that have to do with a chosen category. // WIP
<details> <summary>ℹ️ <i>See More Information</i></summary></details>
Example Workflows
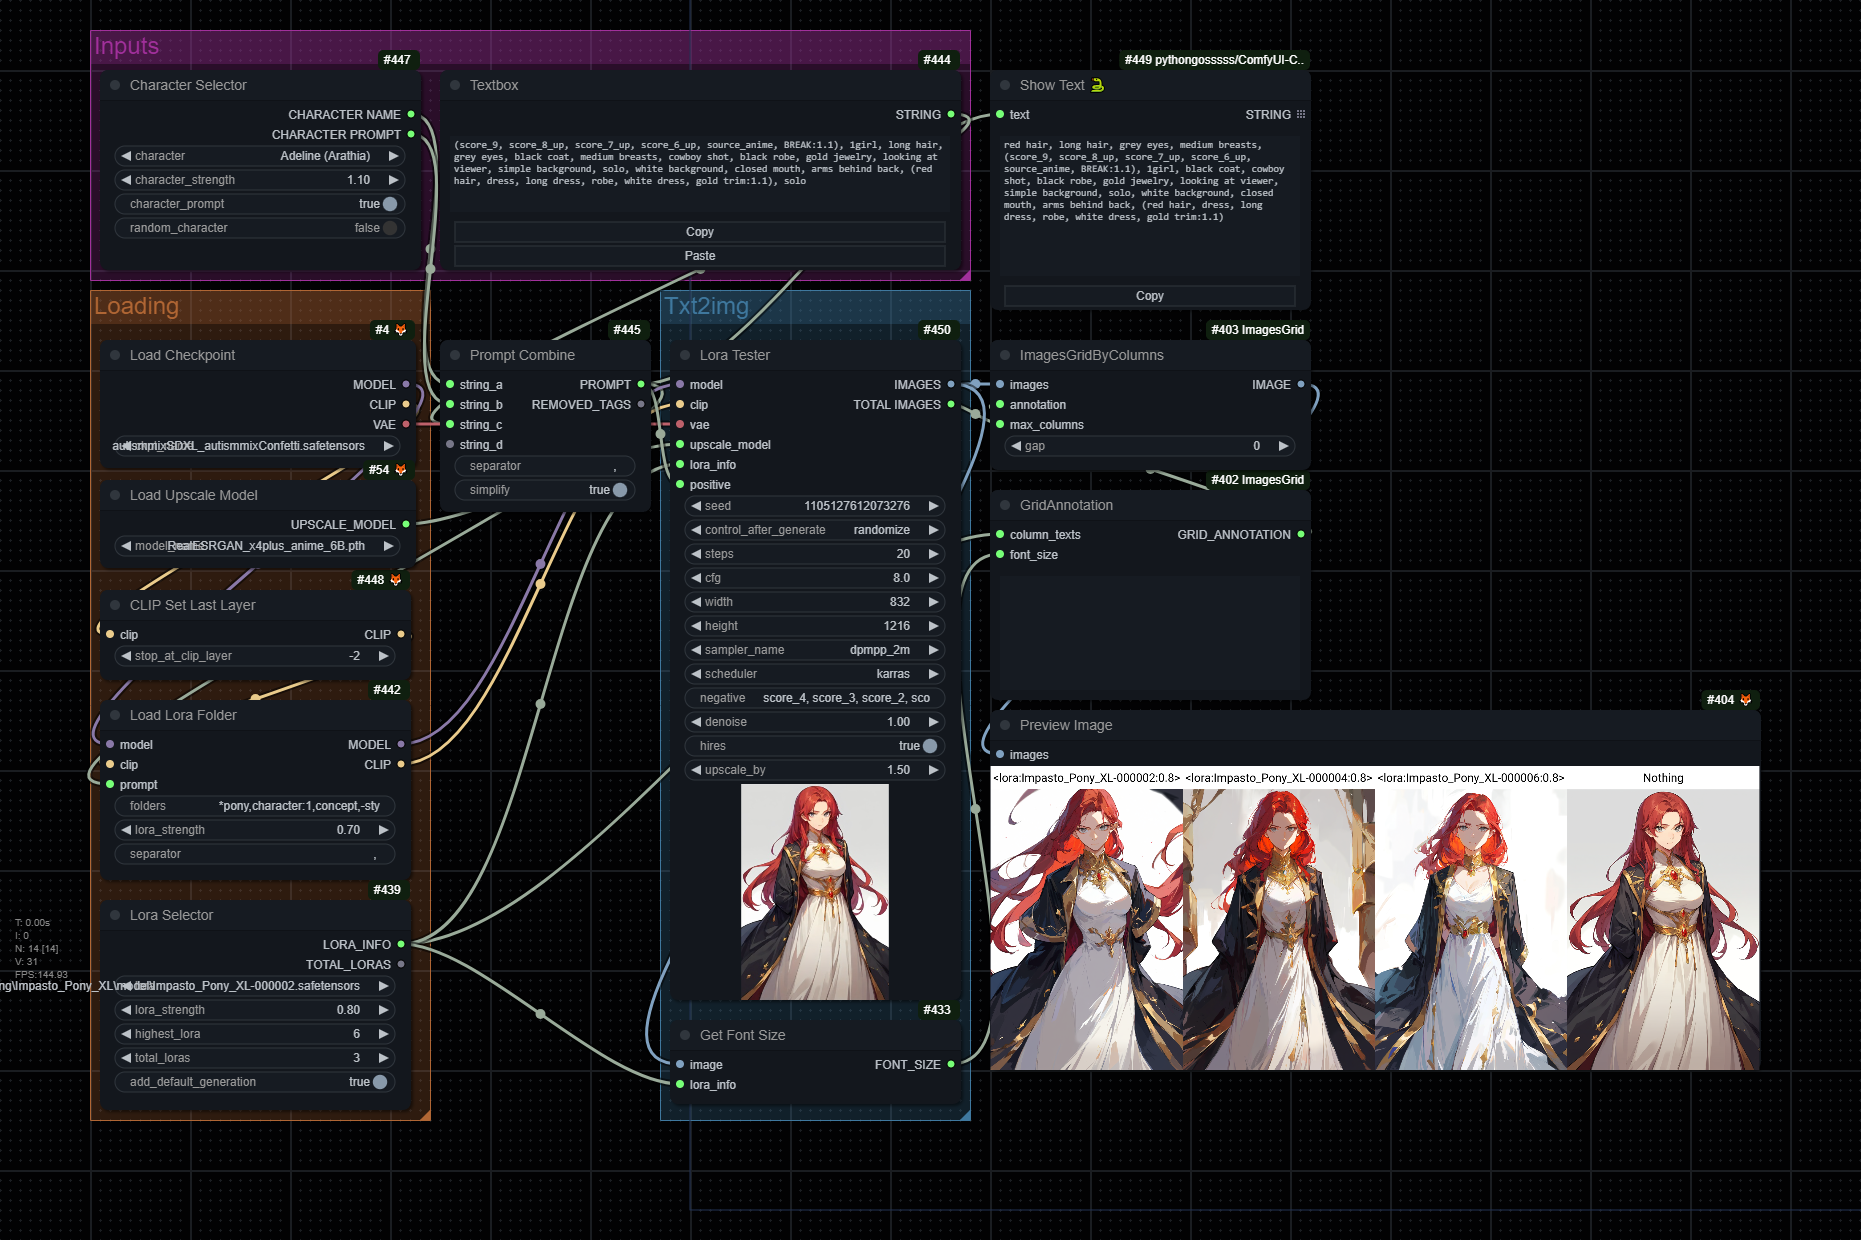
Lora Tester
Note: Uses ImagesGrid for making the actual grid from the image output.
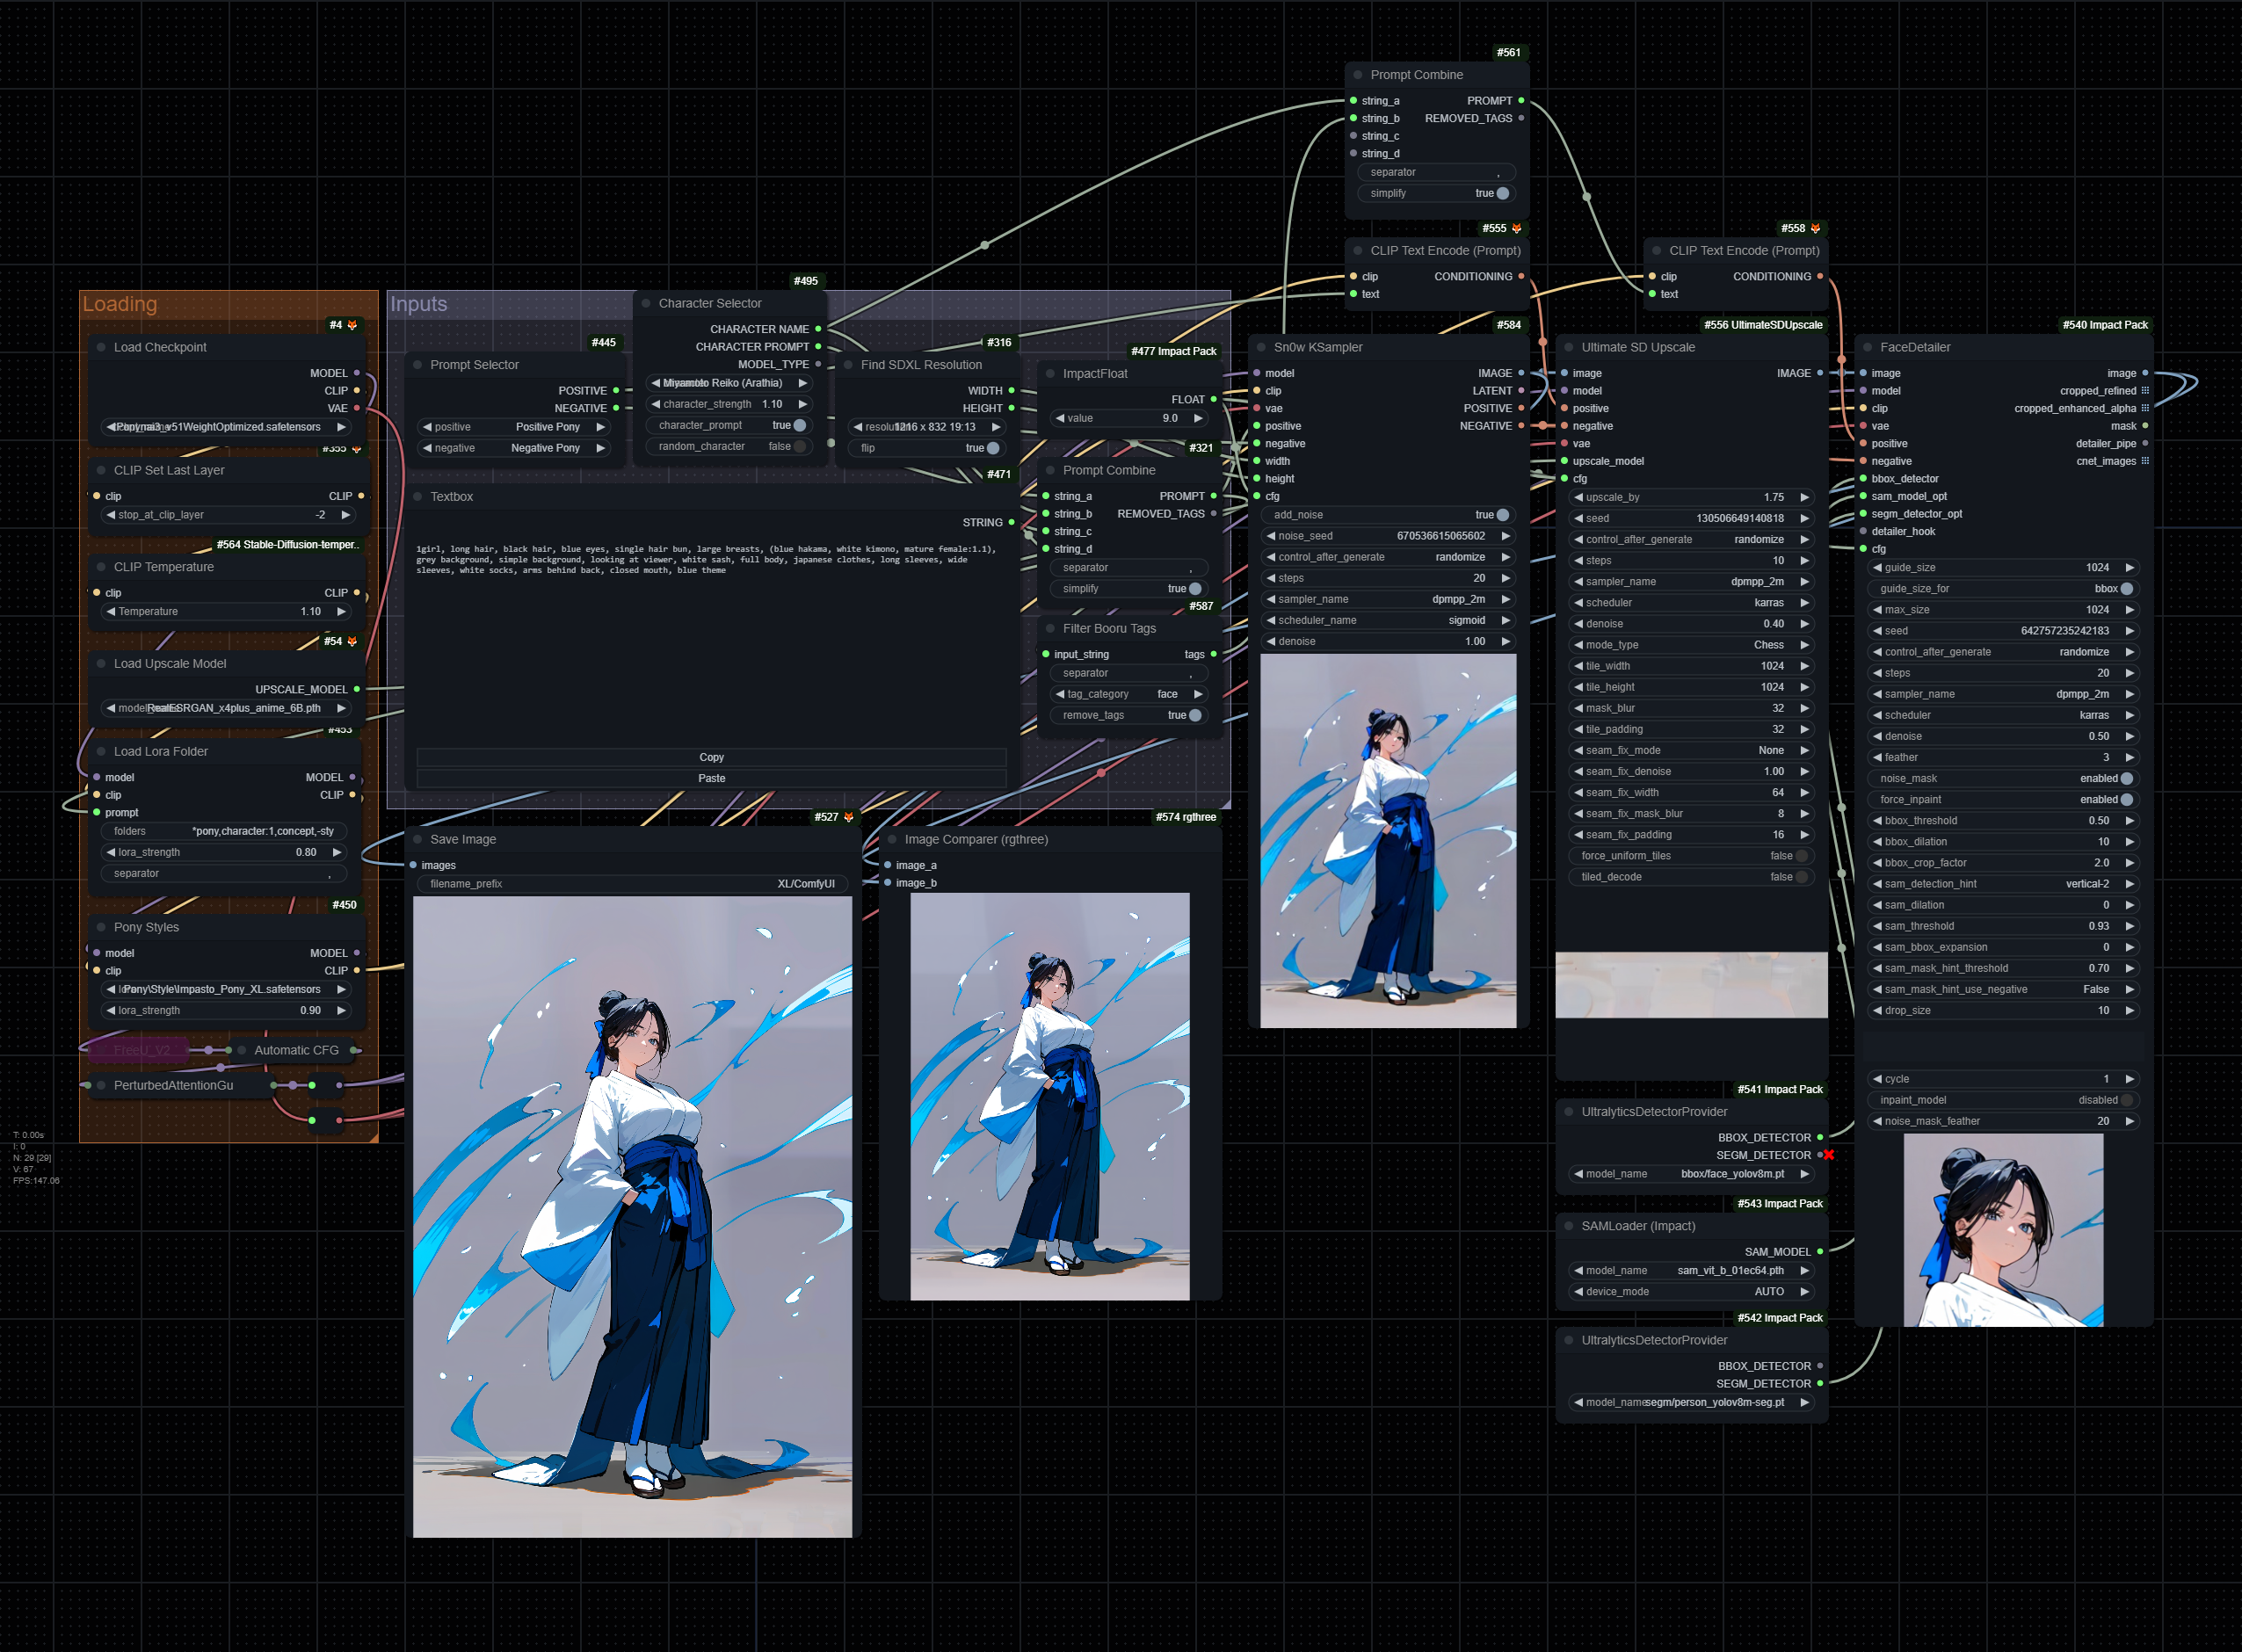
T2I
My general text to image workflow, note that it uses several nodes from different custom nodes.
Known Issues
- Embedding highlighting does not work on linux.
