Nodes Browser
ComfyDeploy: How CLIPSeg works in ComfyUI?
What is CLIPSeg?
The CLIPSeg node generates a binary mask for a given input image and text prompt. NOTE:This custom node is a forked custom node with hotfixes applied from the [a/original repository](https://github.com/biegert/ComfyUI-CLIPSeg), which is no longer maintained.
How to install it in ComfyDeploy?
Head over to the machine page
- Click on the "Create a new machine" button
- Select the
Editbuild steps - Add a new step -> Custom Node
- Search for
CLIPSegand select it - Close the build step dialig and then click on the "Save" button to rebuild the machine
Custom Nodes for ComfyUI: CLIPSeg and CombineSegMasks
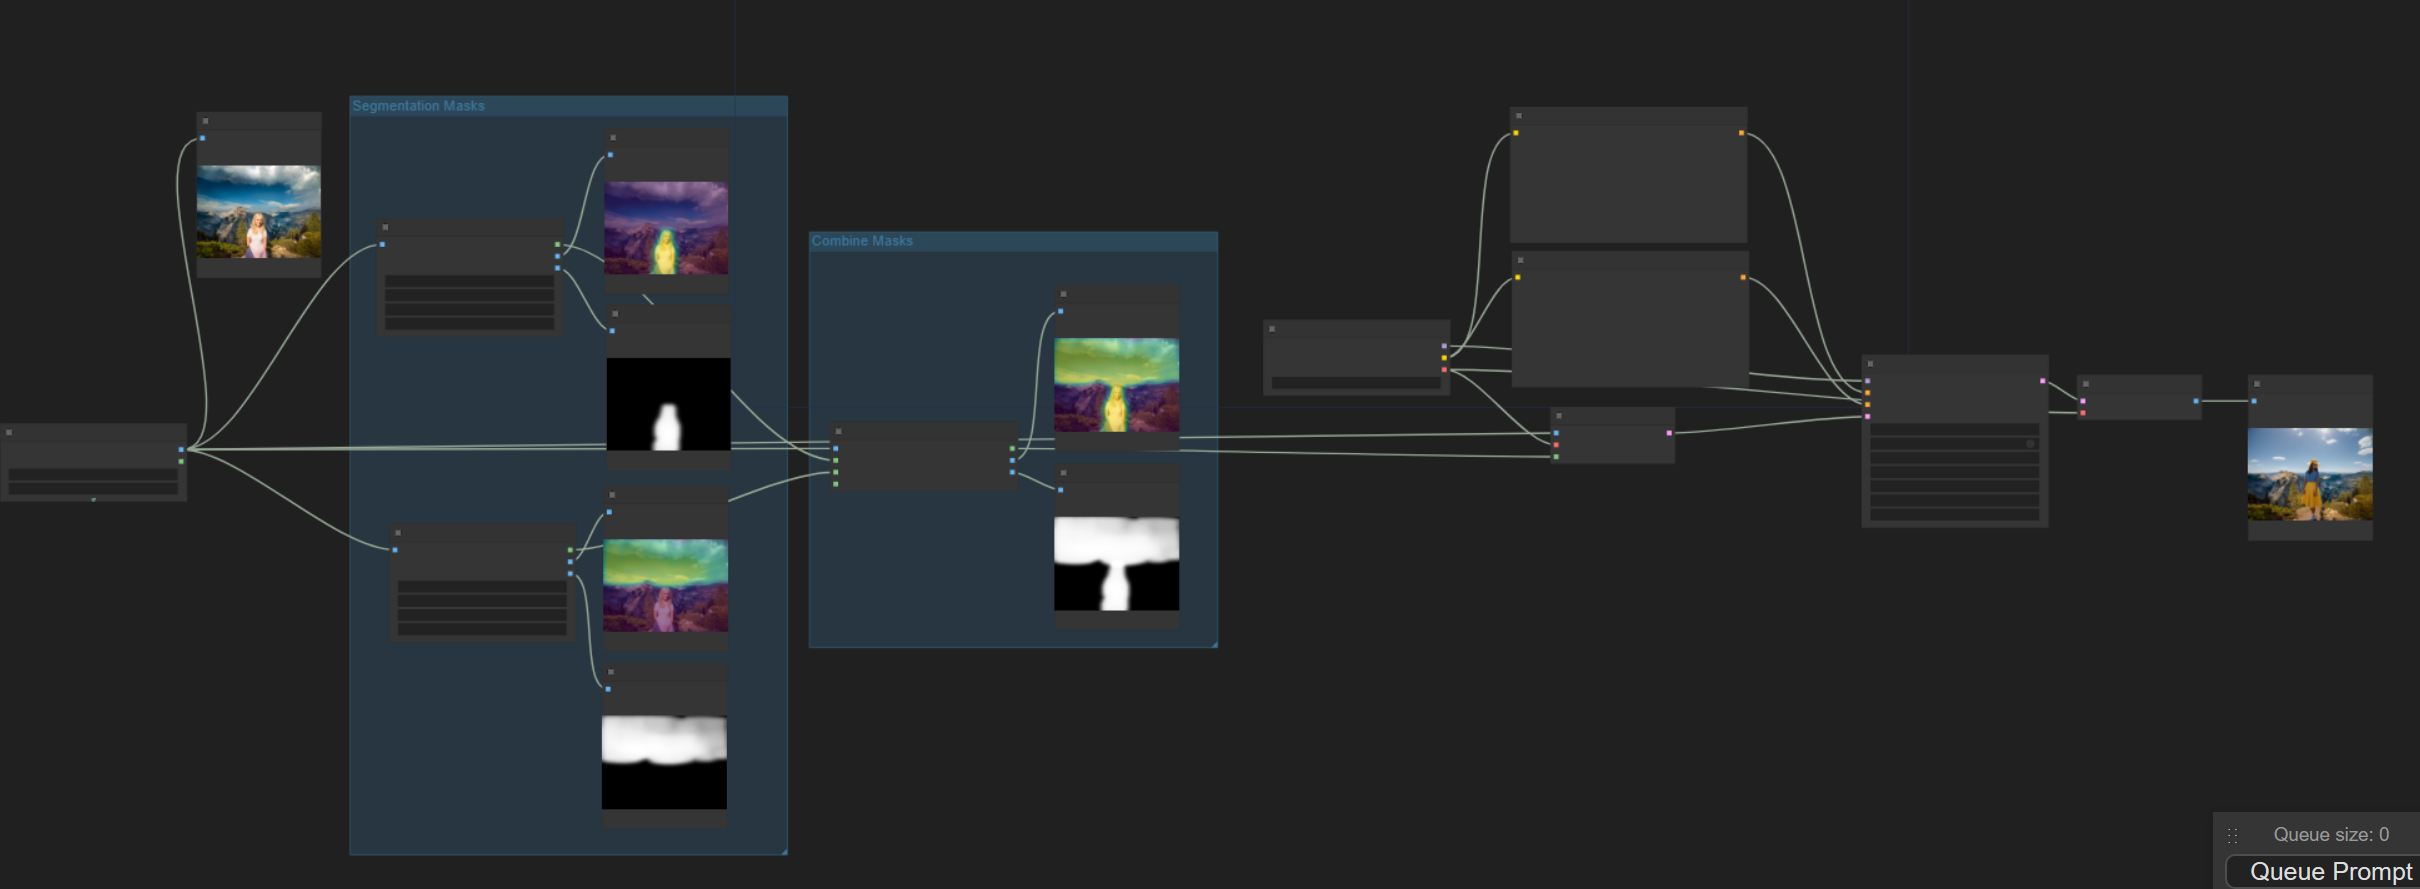
This repository contains two custom nodes for ComfyUI that utilize the CLIPSeg model to generate masks for image inpainting tasks based on text prompts.
1. CLIPSeg
The CLIPSeg node generates a binary mask for a given input image and text prompt.
Inputs:
- image: A torch.Tensor representing the input image.
- text: A string representing the text prompt.
- blur: A float value to control the amount of Gaussian blur applied to the mask.
- threshold: A float value to control the threshold for creating the binary mask.
- dilation_factor: A float value to control the dilation of the binary mask.
Outputs:
- tensor_bw: A torch.Tensor representing the binary mask.
- image_out_hm: A torch.Tensor representing the heatmap overlay on the input image.
- image_out_bw: A torch.Tensor representing the binary mask overlay on the input image.
2. CombineSegMasks
The CombineSegMasks node combines two or optionally three masks into a single mask to improve masking of different areas.
Inputs:
- image: A torch.Tensor representing the input image.
- mask1: A torch.Tensor representing the first mask.
- mask2: A torch.Tensor representing the second mask.
- mask3 (optional): A torch.Tensor representing the third mask. Defaults to None.
Outputs:
- combined_mask: A torch.Tensor representing the combined mask.
- image_out_hm: A torch.Tensor representing the heatmap overlay of the combined mask on the input image.
- image_out_bw: A torch.Tensor representing the binary mask overlay of the combined mask on the input image.
Installation
To use these custom nodes in your ComfyUI project, follow these steps:
- Clone this repository or download the source code.
- Put the clipseg.py file into your custom_nodes directory
- ???
- Profit
Usage
Below is an example for the intended workflow. The json file for the example can be found inside the 'workflow' directory


Requirements
- PyTorch
- CLIPSeg
- OpenCV
- numpy
- matplotlib
Make sure that you have the required libraries installed to the venv of ComfyUI.